")
WordPress has a very powerful theme system that allows web developers and website owners to easily change the entire look of a website. It takes a matter of minutes to install a new theme or make minor changes to an existing theme.
However, there are certain occasions when you may require more substantial changes to a theme. That is when a child theme comes in handy. A child theme is an extension of another theme. It allows you to alter the appearance and functionality of the parent theme in a completely non-destructive way.
If you think the idea of child themes sounds interesting, this article is for you! We will explain why child themes are so useful and show you how to create one using 2 methods: Manual & Plugin. Let’s get started.
Table of Contents
- What are child themes?
- What are the advantages of child themes?
- Creating a child theme manually
- Creating a child theme with a plugin
What are child themes?
In simple terms, a child theme is an extension of another theme (which is called the parent theme). Let’s say you were using the theme Twenty Fourteen, which ships with the default WordPress installation. You like the style of the theme, but you want to make some substantial changes to the layout.
Instead of altering the base styles, functions, layout and templates of the Twenty Fourteen theme, you can add a child theme. This allows you to make sweeping changes without significantly altering the code used in the original theme. You can change virtually every aspect of the parent theme, including fonts, layouts and navigation menus.
Once created, the child theme can be activated like any other theme. It is important to remember that a child theme will always use the parent theme as its basis. That means you shouldn’t delete the parent theme from WordPress.
What are the advantages of child themes?
Here are a few reasons why creating child themes is an excellent idea:
You can make modifications without changing the parent theme: Having a child theme allows you to make dramatic changes without damaging the integrity of the original theme. If your modifications don’t look the way you expected, it is simple to return to the original theme. You just have to remove the changes you made in the child theme folder.
Creating a new theme based on an existing one: You can create a child theme based on a theme that you already love the look of. This is much faster than creating a theme from scratch — potentially saving you time and money.
Upgrading the parent theme won’t remove customisations: If you make changes to an original theme that you downloaded via WordPress, those may be removed by theme updates. A child theme will not be overridden, allowing you to safely update the parent theme without losing customisations.
A child theme can alter any aspect of a parent theme: Child themes can override all of the aspects of the parent theme, including images, javascript, CSS files and template files. You have a huge amount of control and flexibility.
Creating a child theme manually
It is surprisingly simple to create a child theme! At its most basic, a child theme requires a folder and two files — a style sheet and a functions.php file. Here is the process for creating a child theme based on the WordPress theme Twenty Fourteen.
1. Create a folder for your child theme
Using an FTP client like FileZilla or Cyberduck, log into your web server and navigate to your WordPress installation folder. You will need the server’s IP address, your username and your password, which you can obtain from your web host. If you have never used FTP before, read this short guide.
Navigate to your WordPress installation directory, then to the wp-content/themes folder. This is where WordPress keeps all of its themes.
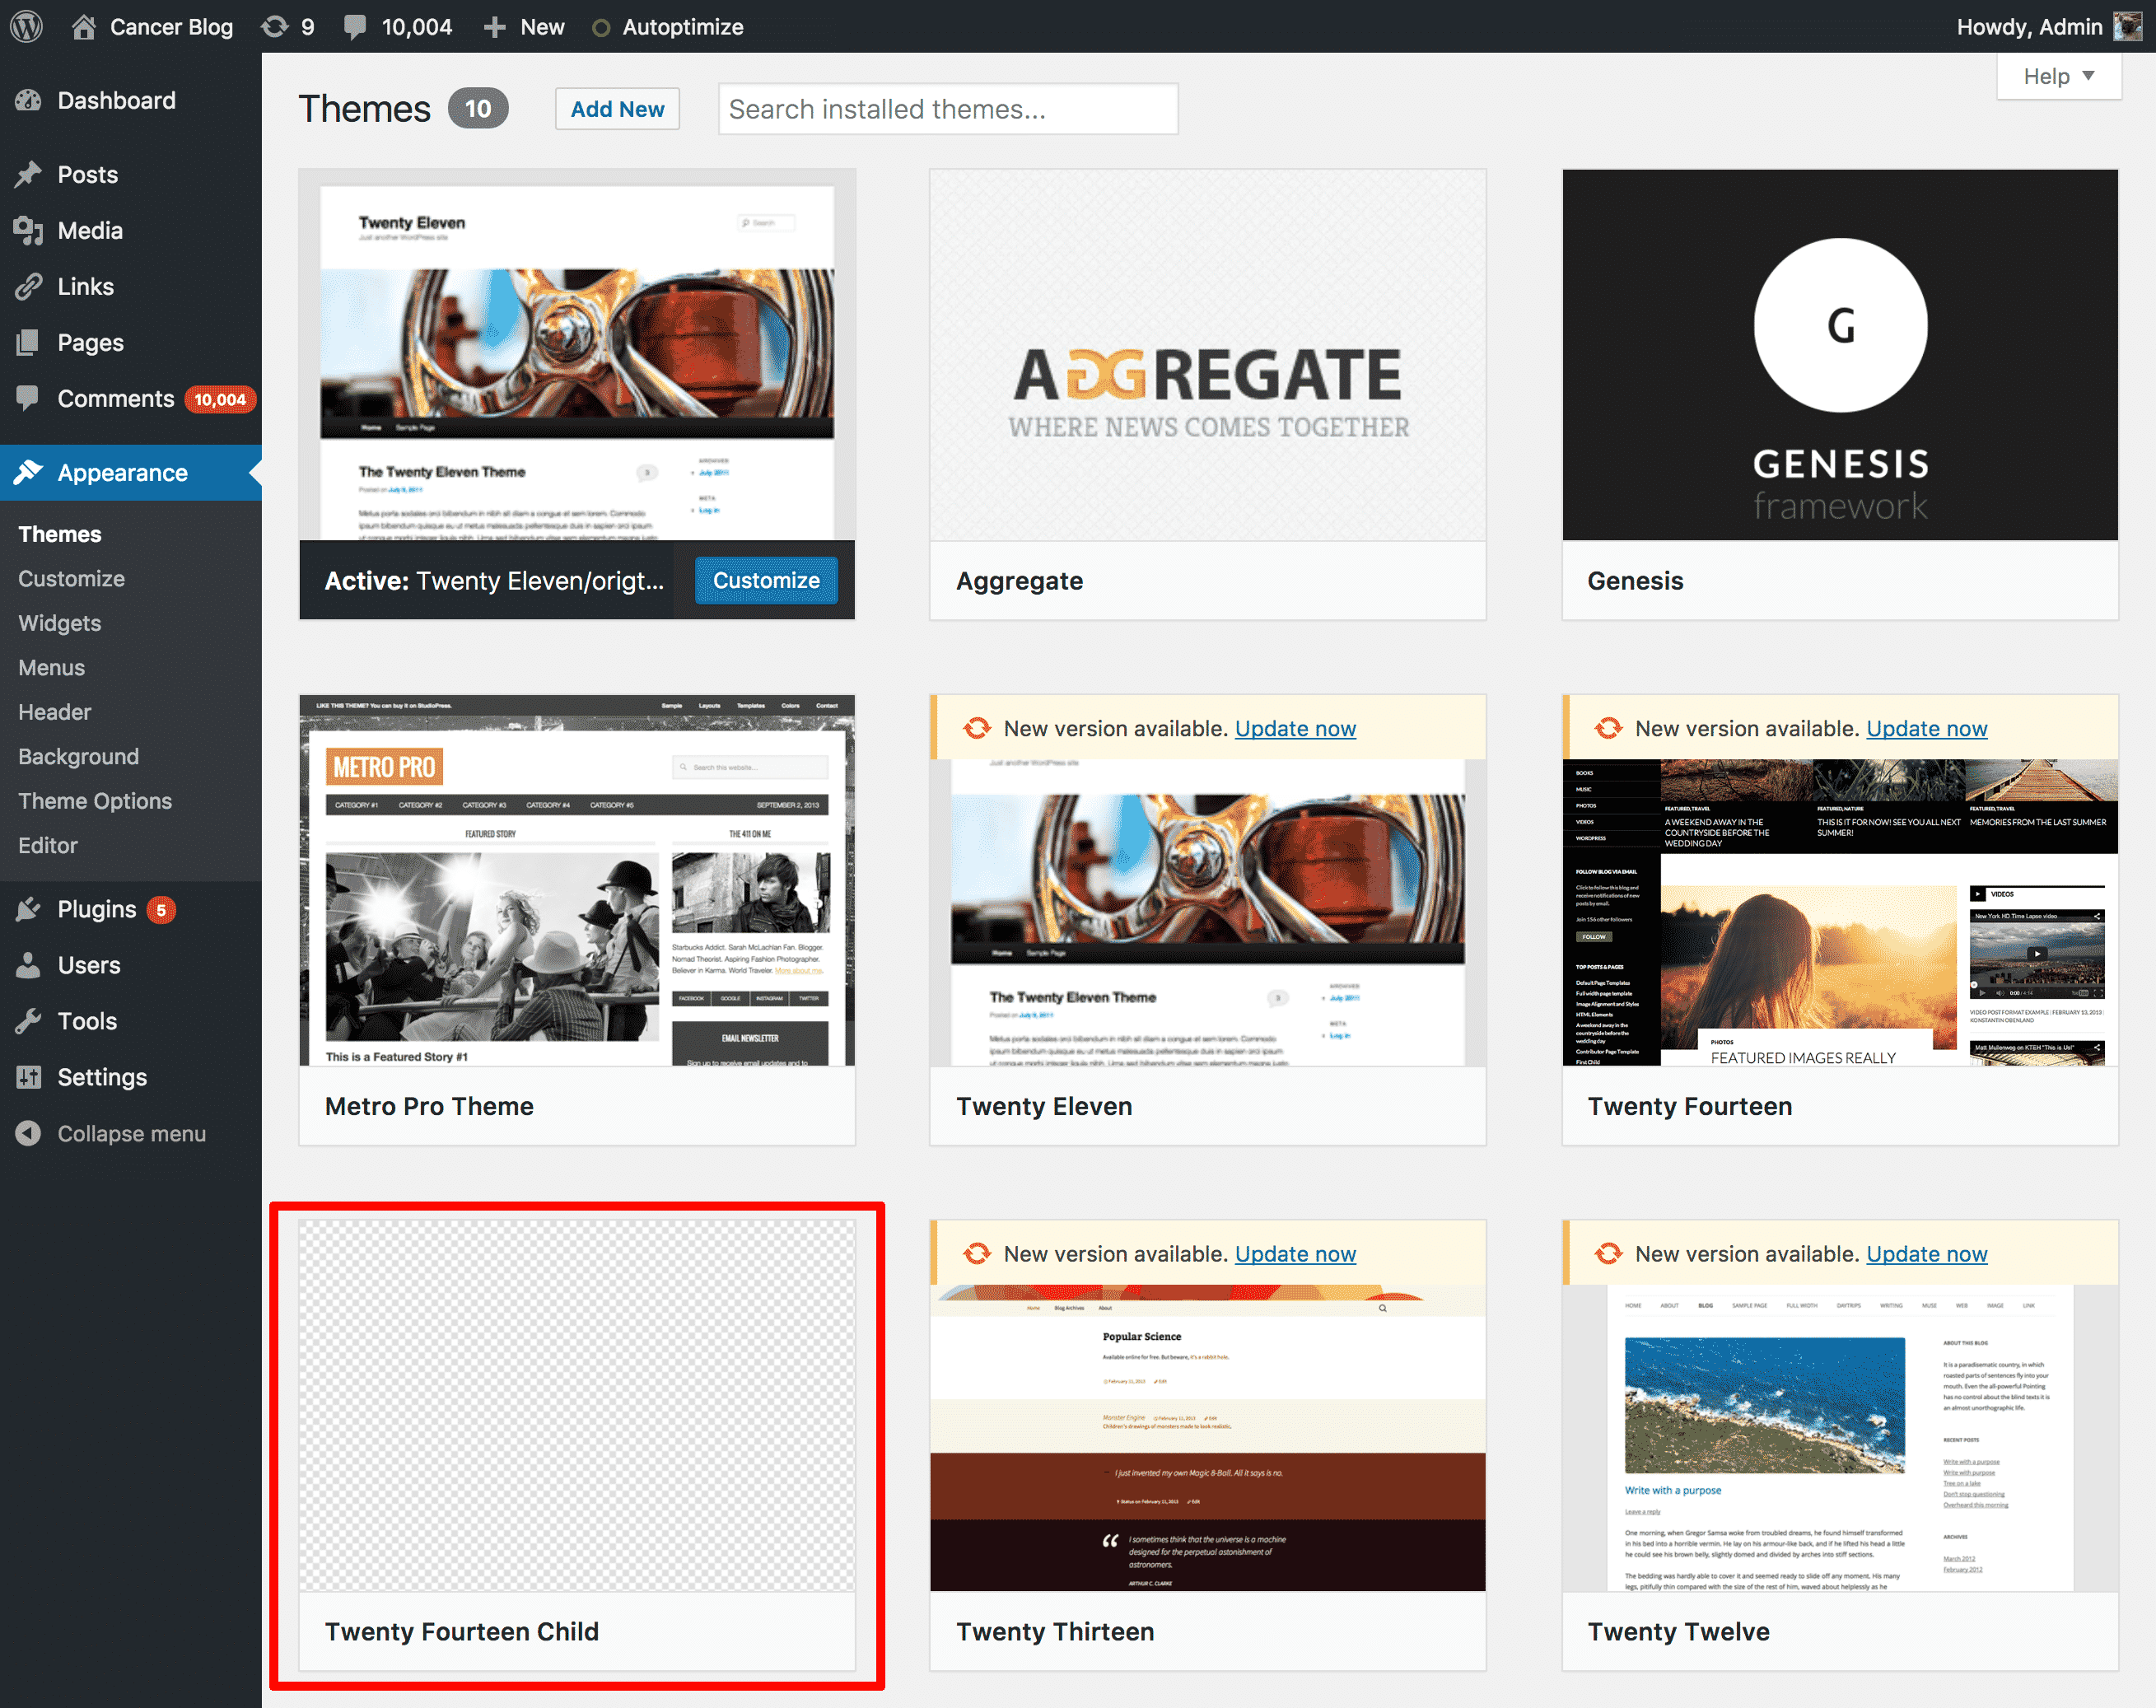
Because we are extending the Twenty Fourteen theme that is found in the twentyfourteen folder, we’ll call our new folder twentyfourteen-child. While you can use any name you like, this naming convention is a useful reminder that you shouldn’t delete the parent theme!
2. Create a style sheet for the theme
Next, we will create a file called style.css. You can use any text editor to create this file. Add the following code to the file:
/*
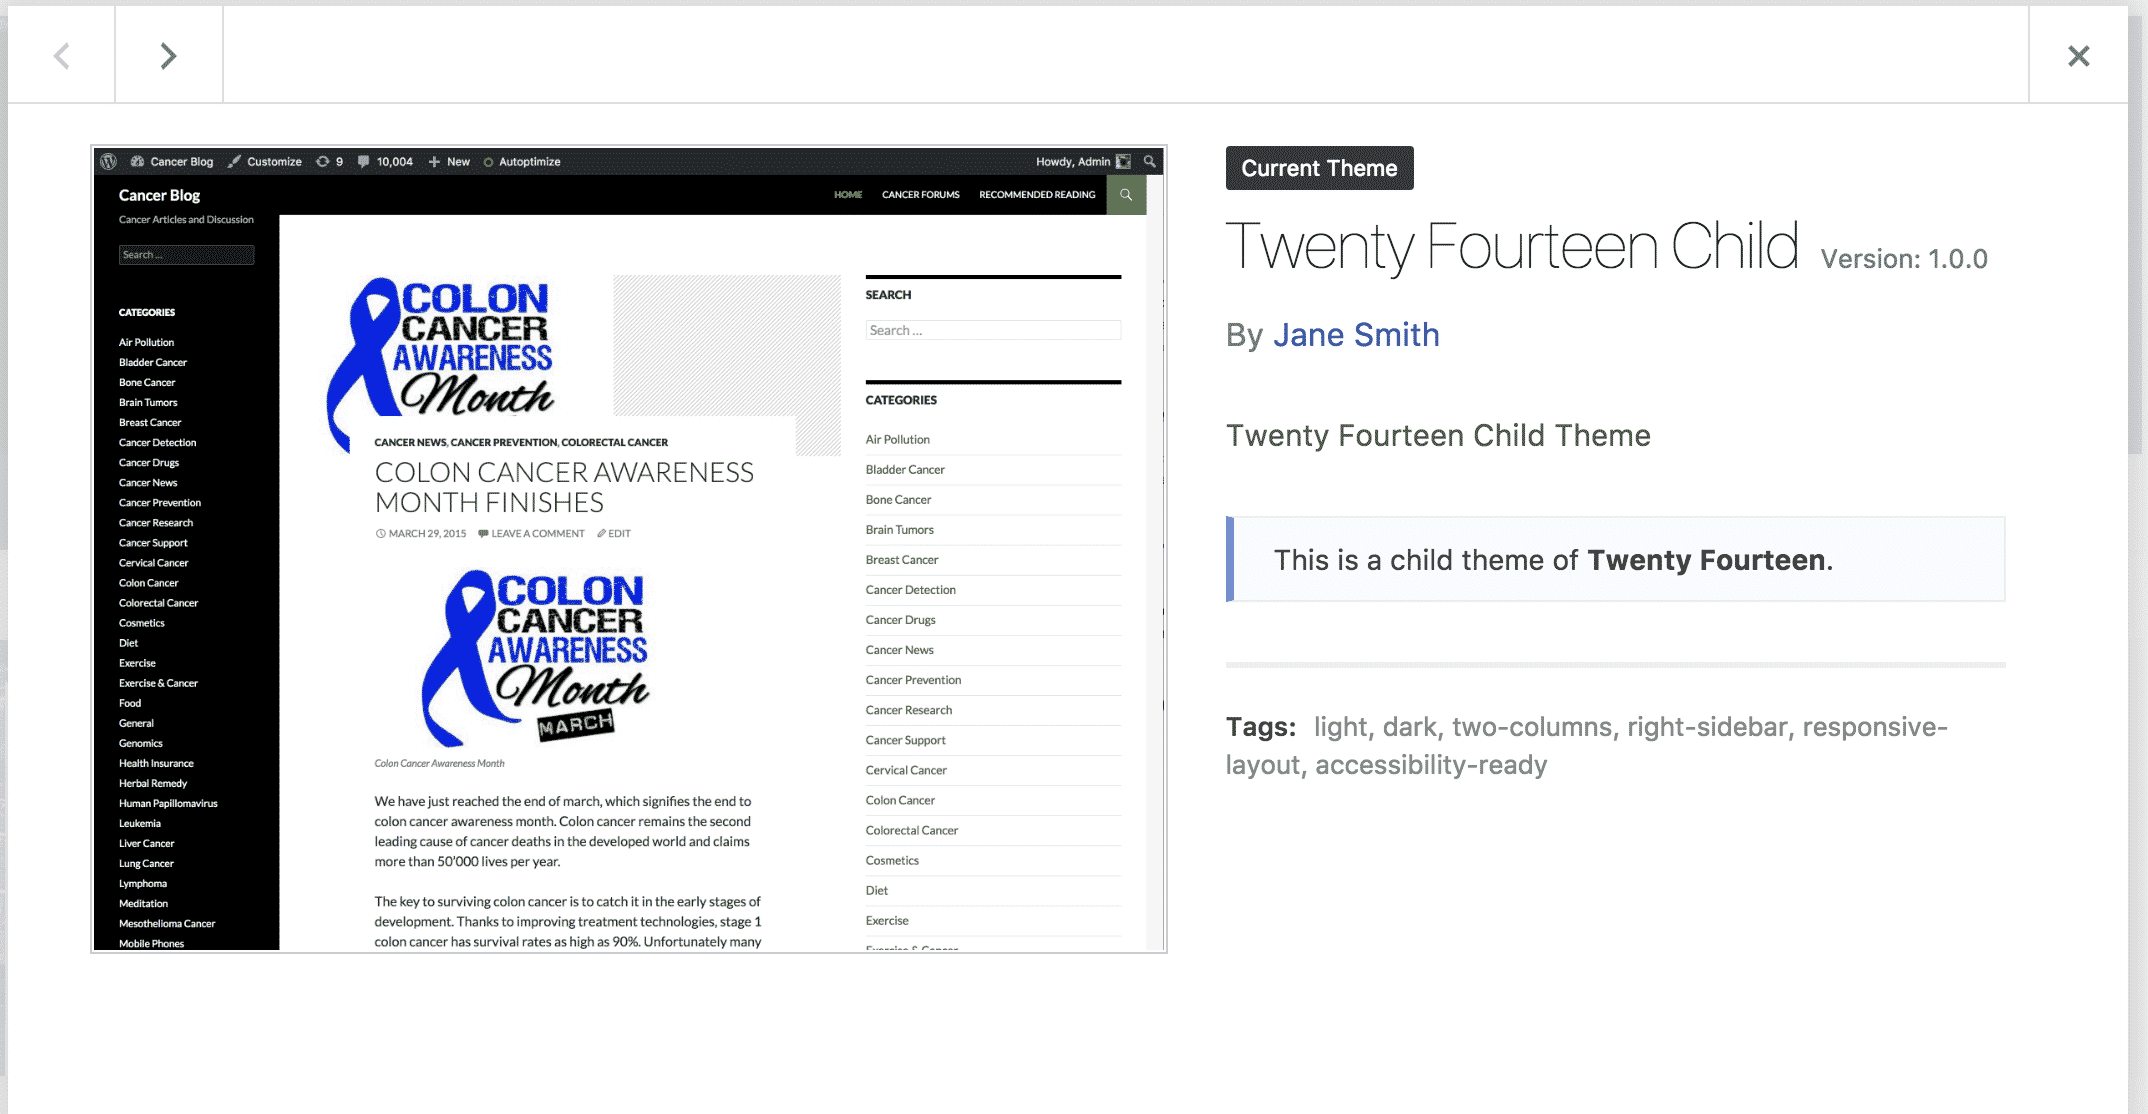
Theme Name: Twenty Fourteen Child
Description: This is our custom Twenty Fourteen child theme
Author: Your Name
Template: twentyfourteen
Version: 1.0.0
*/
WordPress uses this information to fill in some details in the Appearance > Themes section of the administration. If you intend to publish the theme for others to use, there are additional fields you should add, including theme tags, author URL and license. You can view the full list at the WordPress codex.
The presence of the theme folder and style sheet is enough for WordPress to know there is a new theme available. If you log into your WordPress administration and go to Appearance > Themes. You will notice our new child theme is now available! You could even activate it now if you wanted. However, the theme would display plain text because we haven’t added any styles yet.
3. Create a theme functions file
The next step is to create a functions.php file. This file contains code that lets you alter the appearance and functionality of your WordPress website. The first lines we will add to this file will tell WordPress to get the stylesheet from the parent theme, Twenty Fourteen. Add this code to your functions.php file and upload it into twentyfourteen-child.
You may have noticed that our child theme doesn’t have a screenshot in the Appearance > Themes page.
It’s quite easy to add one! Take a PNG screenshot of your theme that is 880 x 660 pixels. Name this file screenshot.png and upload it to your twentyfourteen-child folder. You now have a screenshot!
5. Add styles to your child theme
You can no go ahead and add styles to your styles.css file. These styles will override the styles in the parent theme. This makes it simple to make changes. We will change the size of the post headings by adding the following CSS:
.entry-header {
padding: 0 10%;
}
.entry-title, .widecolumn h2 {
font-size: 4rem;
line-height: 1.25;
margin-bottom: 1.25em;
}
.entry-content, .entry-summary {
padding: 0 10% 10%;
}
The best part of modifying your theme this way is that it is non-destructive — you still have the original theme completely intact. If you make a mistake, simply remove the offending line of CSS and the parent theme’s CSS will take over.
6. Overriding parent theme files
There are many theme files that contain logic and theme components. For example, the content.php file of a theme normally contains important code that determines how the theme displays posts.
You can override these files by adding replacements in the child theme’s directory. WordPress will automatically check for files in the child theme’s directory first and give them preferential treatment. We could create a new content.php file in the child directory and WordPress would use that instead of the parent theme’s version.
The best approach to overriding theme files is to start with a copy of the original parent theme file. Copy the content.php file from wp-content/themes/twentyfourteen/ into wp-content/themes/twentyfourteen-child/
We can then edit the logic of this component, which completely changes the way the theme is displayed. For example, on line 24, we have the following code:
if ( is_single() ) :
the_title( '<h1 class="entry-title">', '</h1>' );
else :
the_title( '<h1 class="entry-title"><a href="' . esc_url( get_permalink() ) . '" rel="bookmark">', '</a></h1>' );
endif;
We could change this to use H2 tags or a different class. You could even add a function to show the posts tags directly under the heading if you wished.
It is also possible to add custom template files to your child theme which override the template files in the parent theme. You can even create custom templates that only appear in the child theme.
Creating a child theme with a plugin
You can speed up the process of creating a child theme by using a plugin. There are a few options available including Child Theme Configurator, One-Click Child Theme and Child Theme Creator by Orbisius. For this example, we will be using Child Theme Configurator.
1. Log into the WordPress administration section

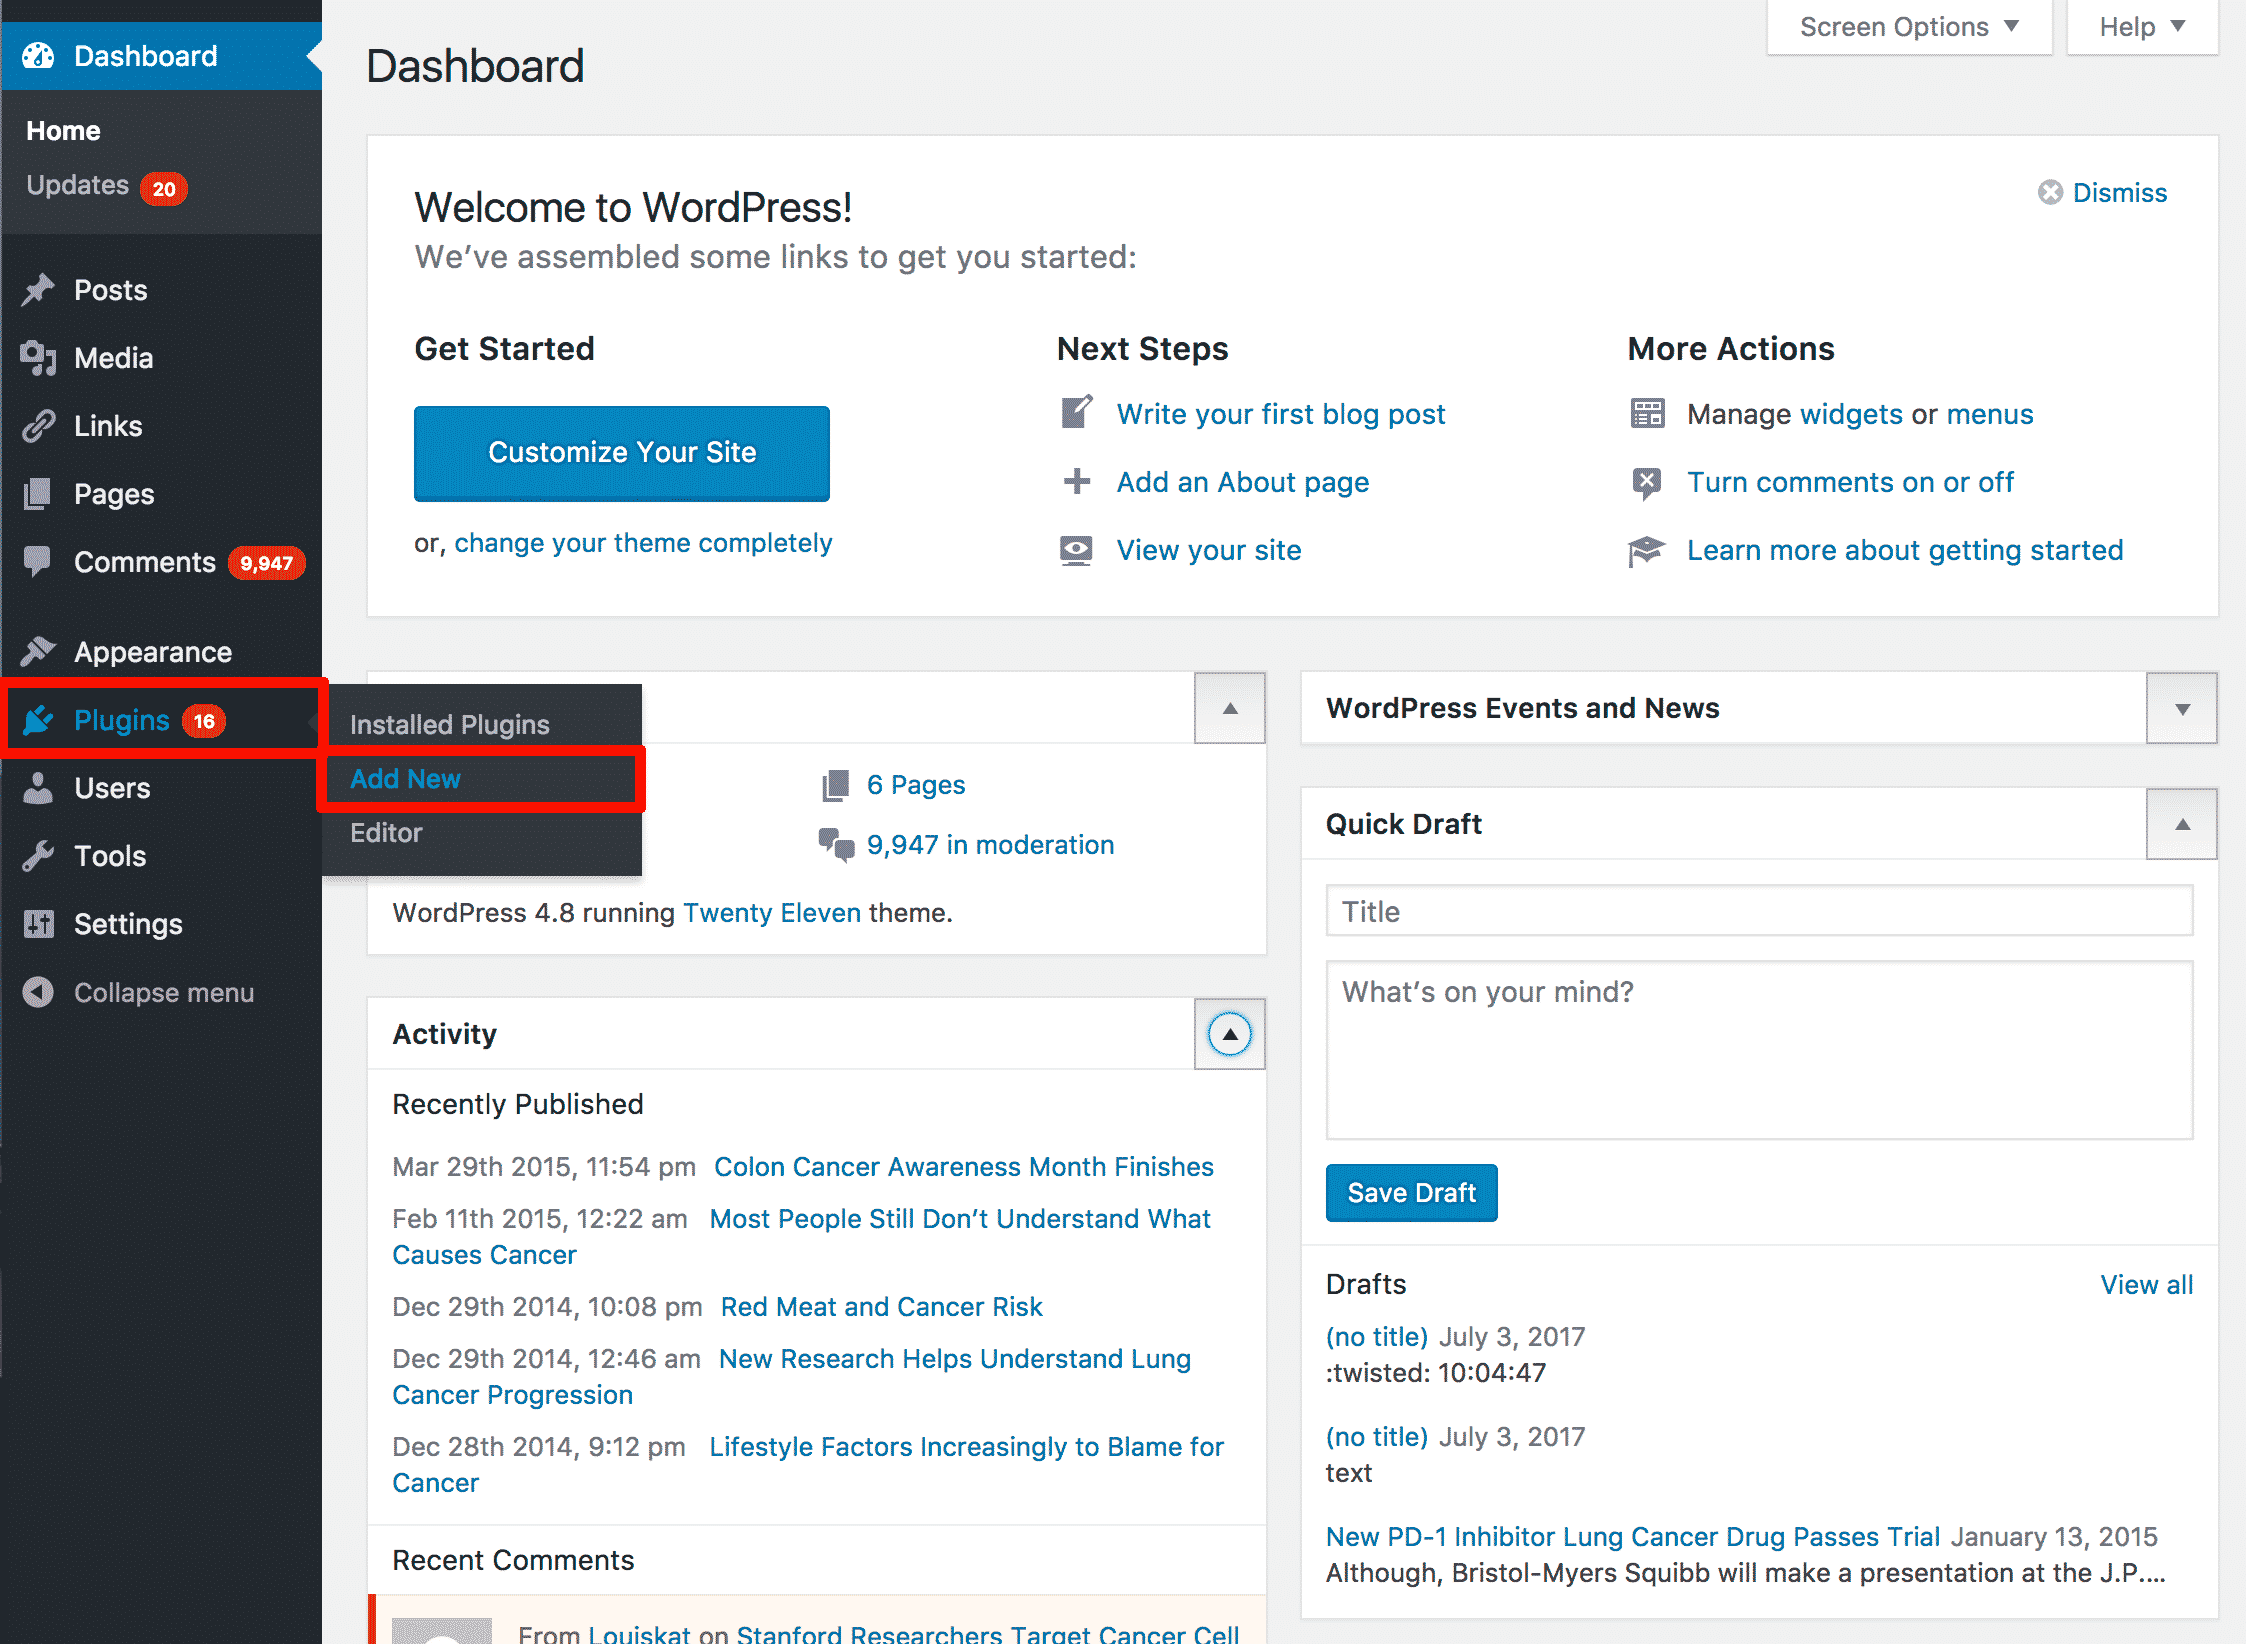
2. Use the left-hand navigation to select Plugins > Add New.
3. In the Search field on the upper right corner, type “Child Theme Configurator”. Child Theme Configurator will be the first result listed. Click on the Install Now button.

4. Once the plugin has finished installing, press the Activate button.

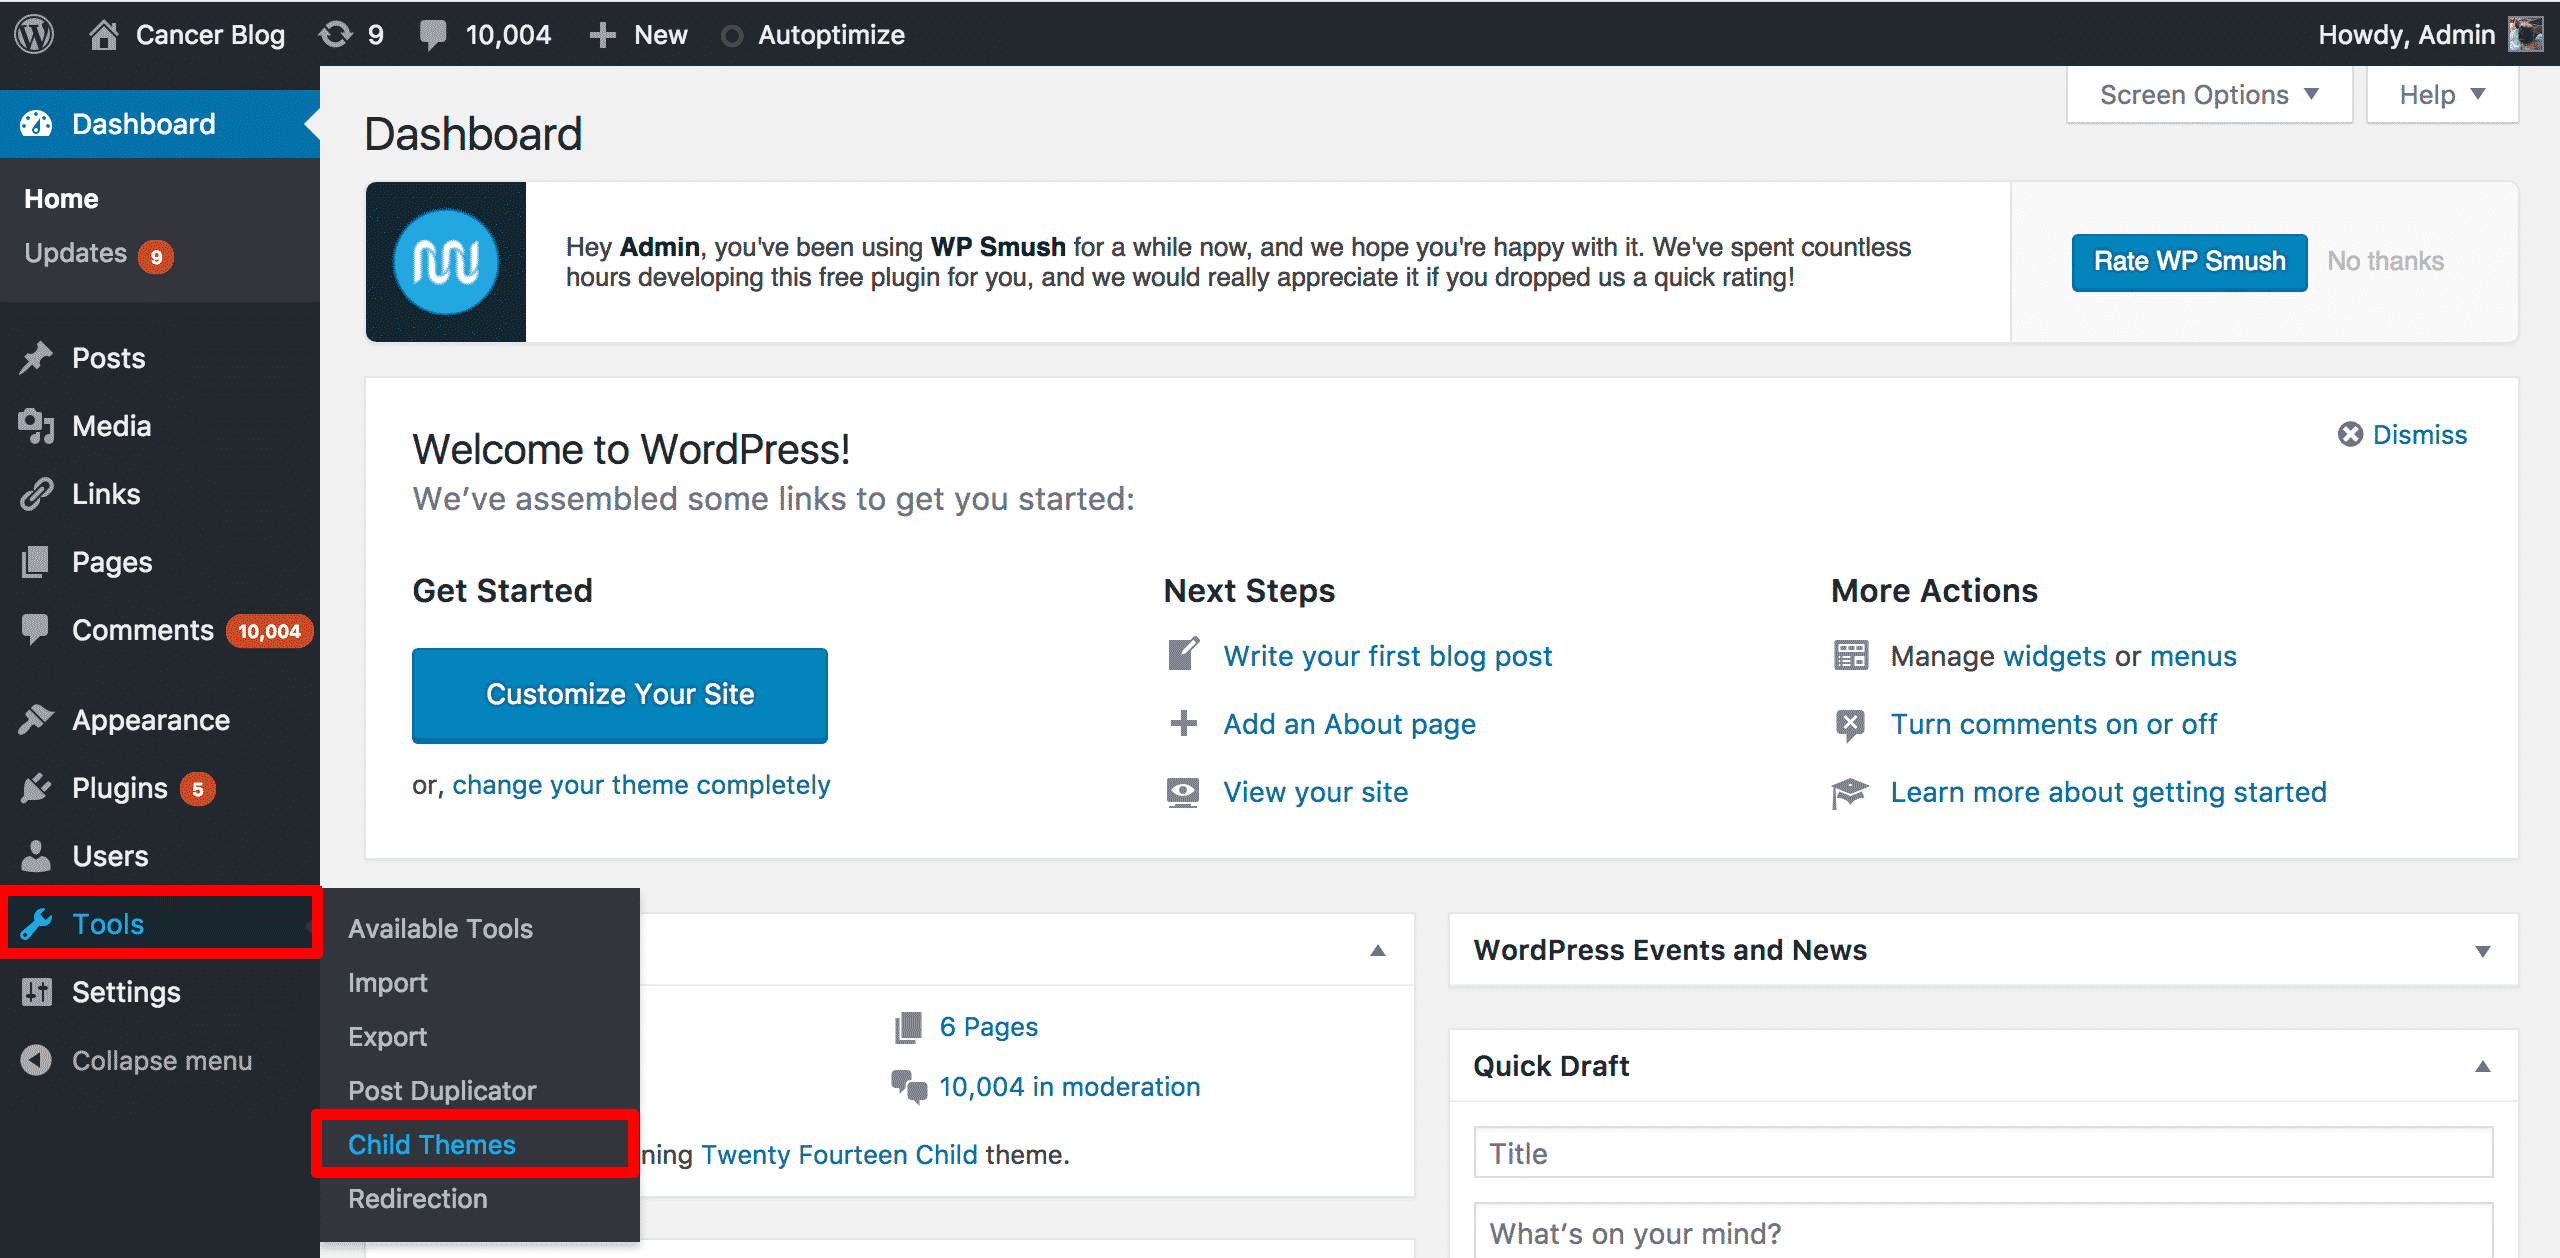
Once the plugin is activated, you will find a new menu item under Tools > Child Themes. Click on this new menu item.
We’ll start by creating a new child theme. Click the CREATE a new child theme checkbox, then select a theme from the drop-down box. Finally, click the Analyze Parent Theme button.

If the theme is suitable to be a parent theme, you will be presented with the following options:
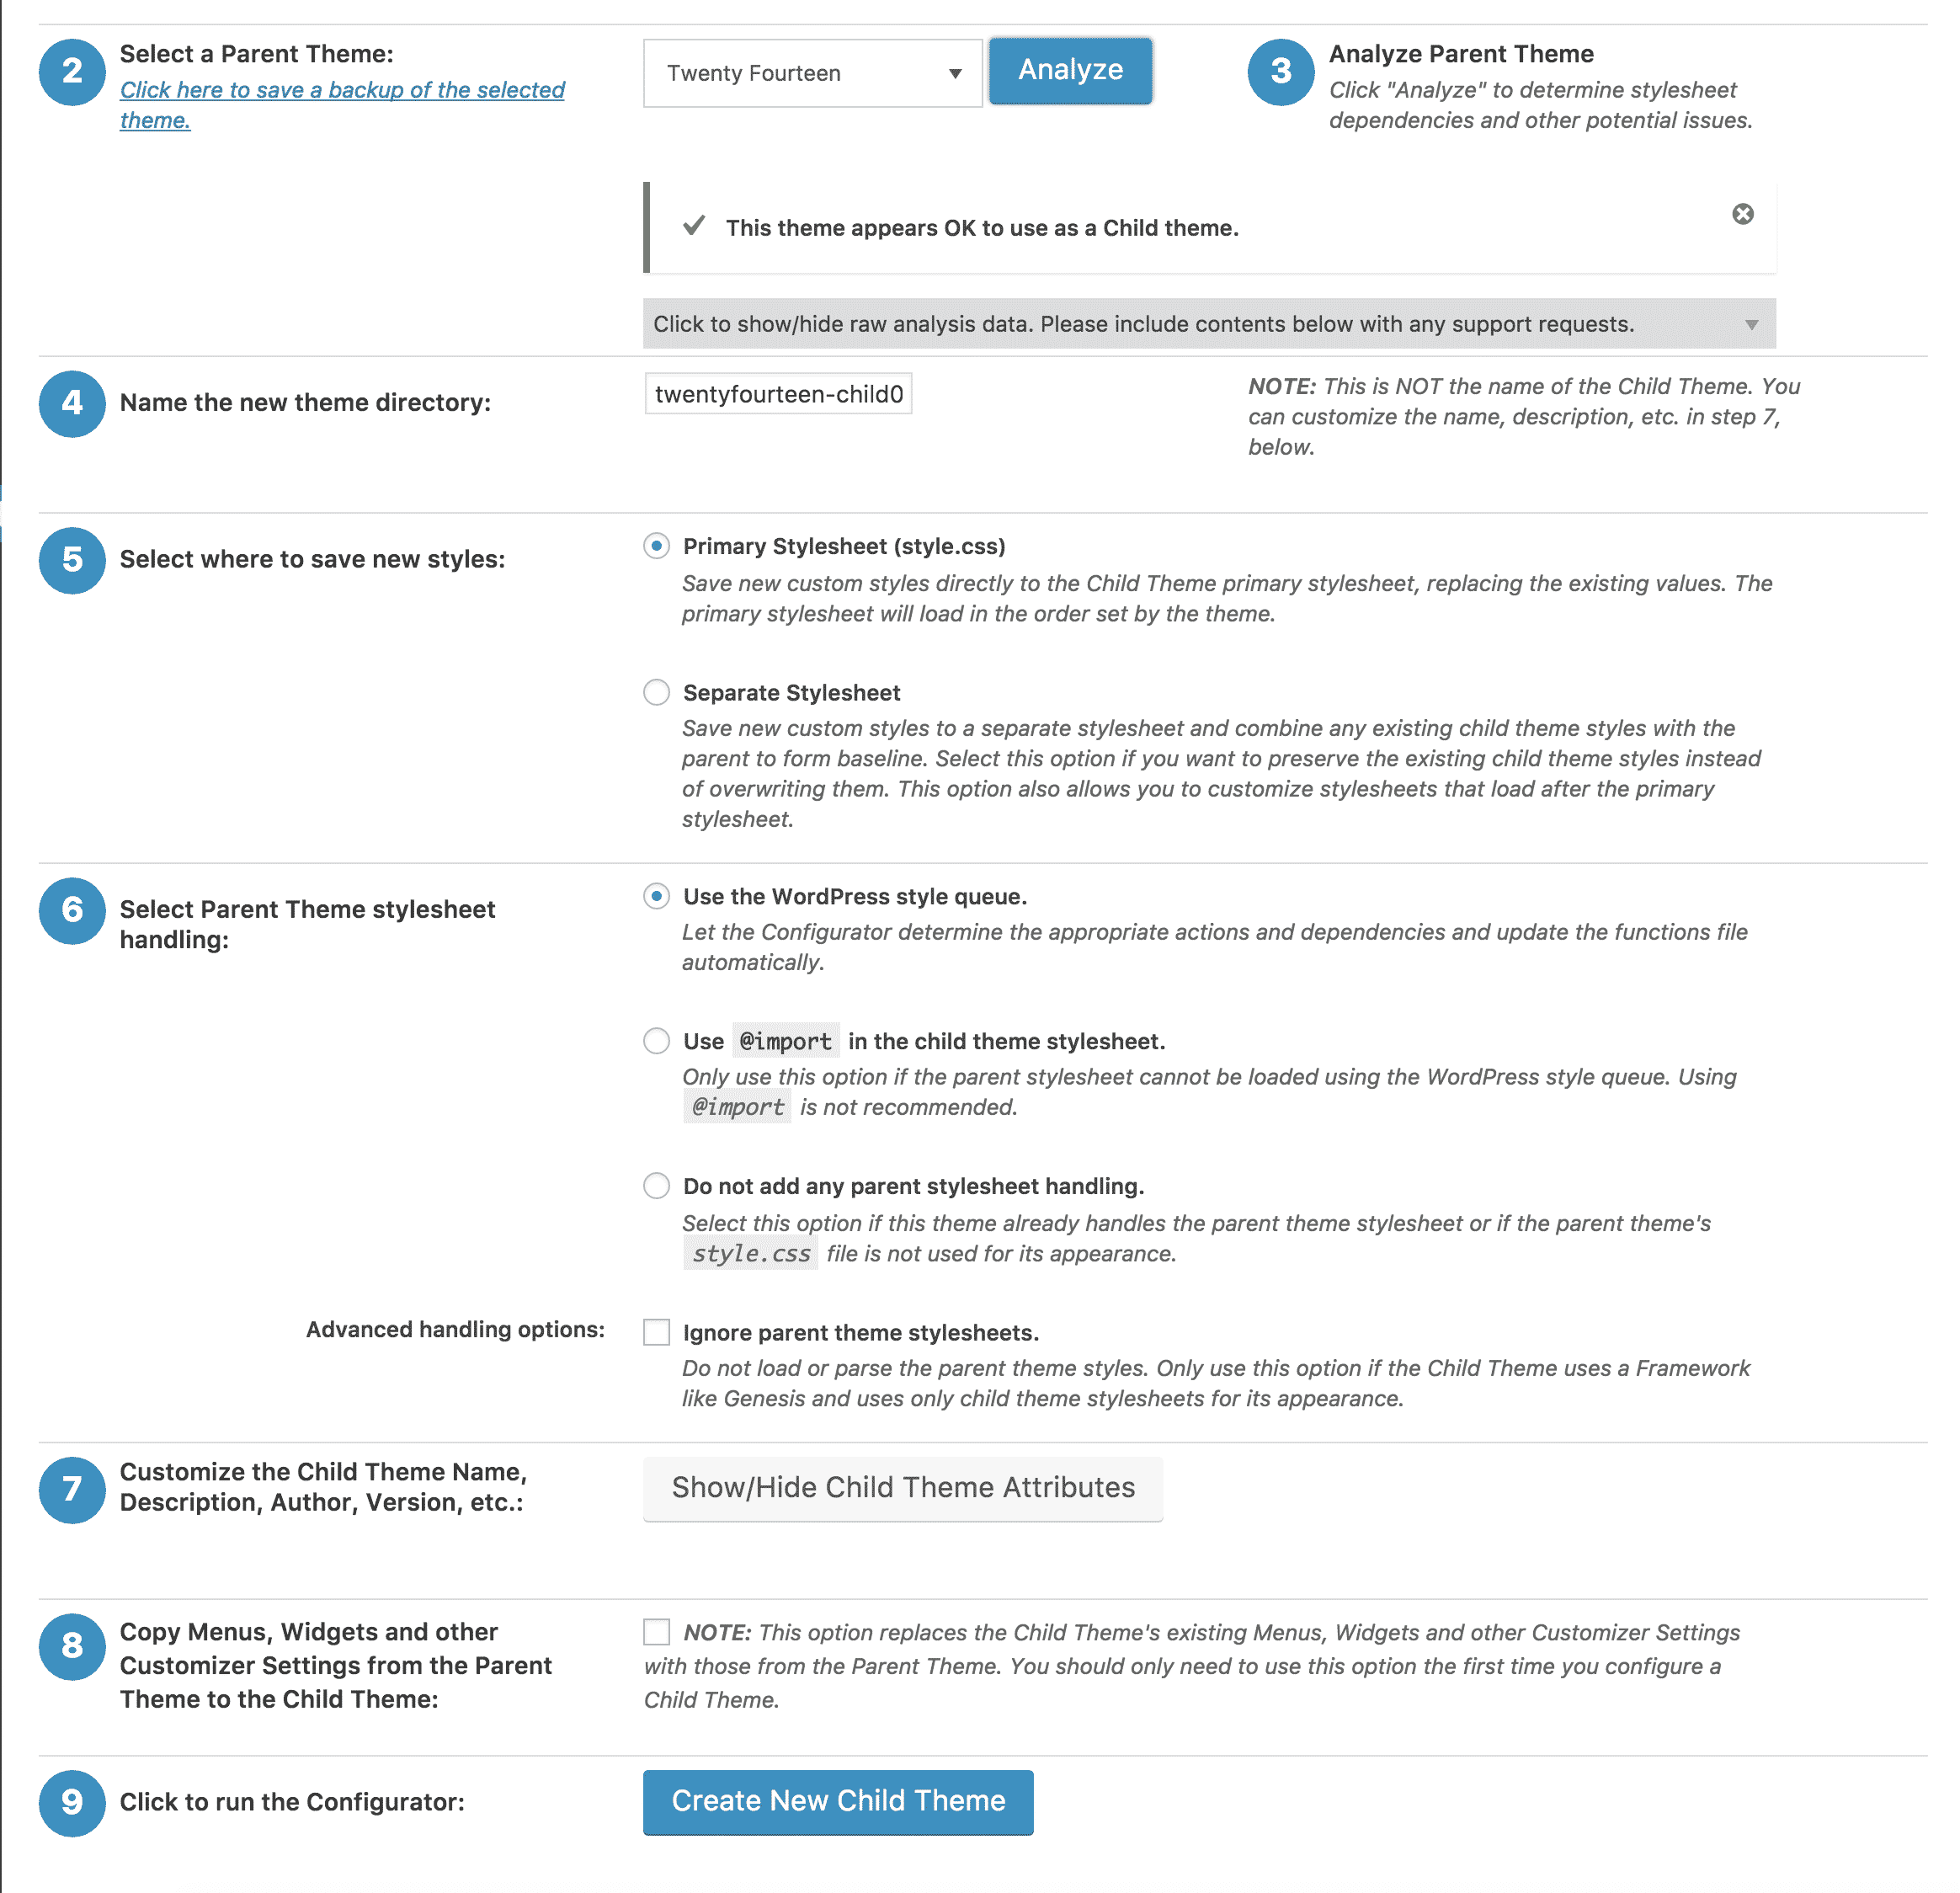
The options include:
- Name the new theme directory
- Select where to save styles: You can tell WordPress to use style.css or a custom CSS file.
- Select parent theme stylesheet handling: You can choose from multiple techniques for importing stylesheets into the child theme.
- Customize the child theme name, description, author version etc.: Press this button to customise the metadata of your child theme
- Copy menus, widgets and other customiser settings: You can have the plugin immediately import a range of files from the parent theme.
Once you have created the child theme, you can change its settings on the tabs that are provided. The functions of each tab are:

- Query/Selector: This feature lets you search for CSS selectors to find the settings that are used in the theme
- Property/Value: You can also search by CSS properties to find the settings used by the parent theme. For example, you can search for the property background-colour to find all instances of it in the theme.
- Web fonts: Add linked stylesheets here
- Baseline styles and child styles: These tabs let you check the styles that have already been used by the theme.
- Files: This section contains a variety of functions for dealing with theme files. You can import specific files from the parent theme, delete selected child theme files, create a child theme screenshot and export your child theme.
As you can see, this plugin has some very useful features that make creating a child theme easy!
Thanks for reading How To Create a WordPress Child Theme! For more WordPress guides, subscribe to the blog or follow us on social media.
 234 customers signed up in the last 30 days