It is important to optimise your WordPress website so it loads quickly. That’s because having a fast-loading site is much more enjoyable for your visitors to use — leading to an increase in conversion rate and return visitors.
One of the easiest ways to improve your website’s page load speed is to compress your images. Compression makes the images smaller in size and faster to download for your visitors. Your website will also take up less space on the web server and bandwidth costs will be reduced.
This guide will explain the many advantages gained from compressing the images on your website. We’ll also teach you how to install WP Smush — one of the best image compression plugins for WordPress!
Table of Contents
- The advantages of image compression
- How does WP Smush work?
- What are the features of WP Smush?
- Installing WP Smush
- Configuring WP Smush
The advantages of image compression
There are plenty of advantages to be obtained from compressing your website’s images. They include:
- Your website will load faster: Compressing your website’s images decreases their size. This means visitors will be able to load pages faster and will find your site more responsive.
- Your search engine rankings will improve: Search engines like Google and Bing use page load speed as a ranking factor. In simple terms, the faster your pages load, the higher your pages will rank in search engine result pages (SERPS).
- Your website’s visitors will be happier!: Users love websites that load quickly. After you improve page load speeds, you will notice improved conversion rates, lower bounce rates and more return visitors.
- Your website will use less server space: Because your compressed images are smaller, they will take up less space on your server. This is particularly useful if you have hundreds or thousands of images that are taking up a lot of space.
- Mobile users will enjoy using your website: Many mobile users are operating in environments with slow Internet connections. Having compressed images will help these visitors enjoy your website.
- Your website’s bandwidth costs will be reduced: If you have a very busy website, your bandwidth costs may be substantial. Making your images smaller can lead to substantial savings.
How does WP Smush work?
WP Smush makes your images smaller by performing the following tasks:
The EXIF data is removed from the image: EXIF stands for Exchangeable Image File Format. It is used to store data associated with digital photographs. This data can include things like the camera’s shutter speed, the date, lens type and camera model. This information helps photographers keep track of the settings and tools used when taking a photograph. Because EXIF data is not required on most websites, it is stripped by WP Smush.
The image is compressed using image compression libraries: WP Smush uses a variety of image compression algorithms to reduce the size of the image without reducing the quality.
Images can be automatically resized before being added to the library: Any images above the maximum width and height you have set will be automatically scaled down before being added to the media library. This prevents any large images being left on the server to unnecessarily take up space.
What are the features of WP Smush?
WP Smush is a powerful plugin that is packed with features, including:
- Lossless compression techniques which make your images smaller without losing quality
- The ability to process JPEG, GIF, and PNG files
- The option to optimise entire directories of images in one click
- An option to auto-smush images added to posts
- Image compression statistics
- The ability to add a maximum width and height to images so they are automatically resized when being added to your media library
- Compatibility with many media library plugins, including WP Media Folder, NextGen Gallery, WP All Import, and WPMP
Installing WP Smush
Like most WordPress plugins, WP Smush is easy to install!
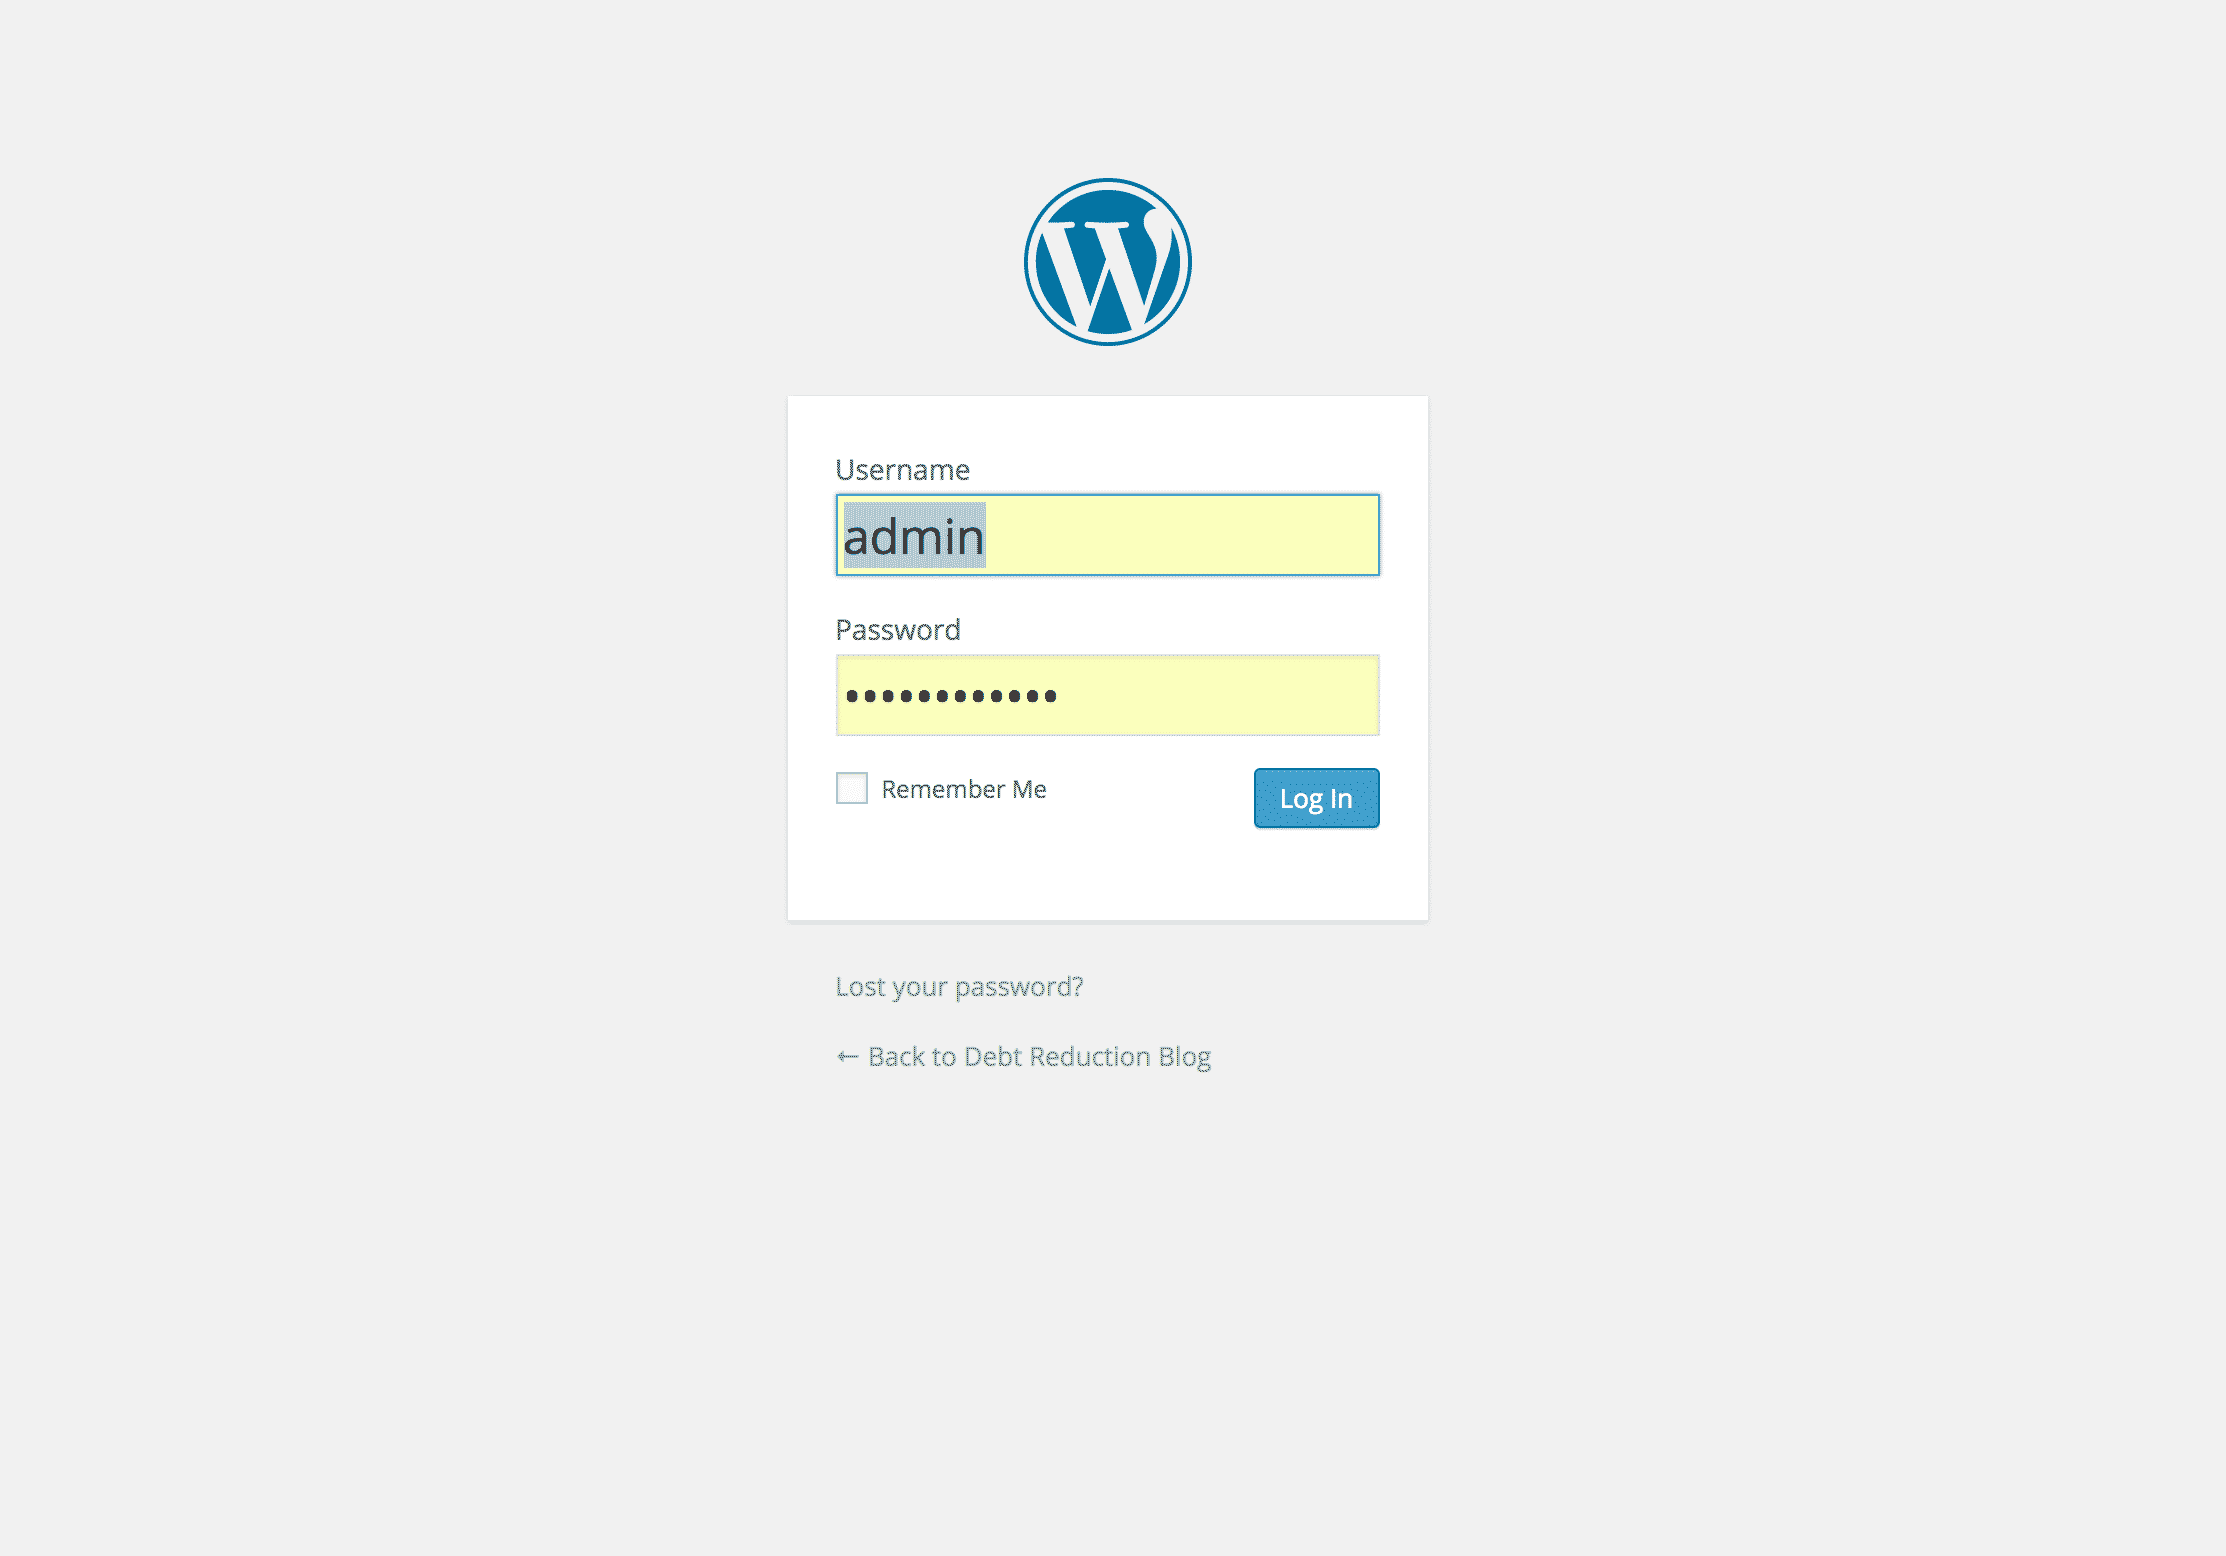
1. Log into your WordPress administration section
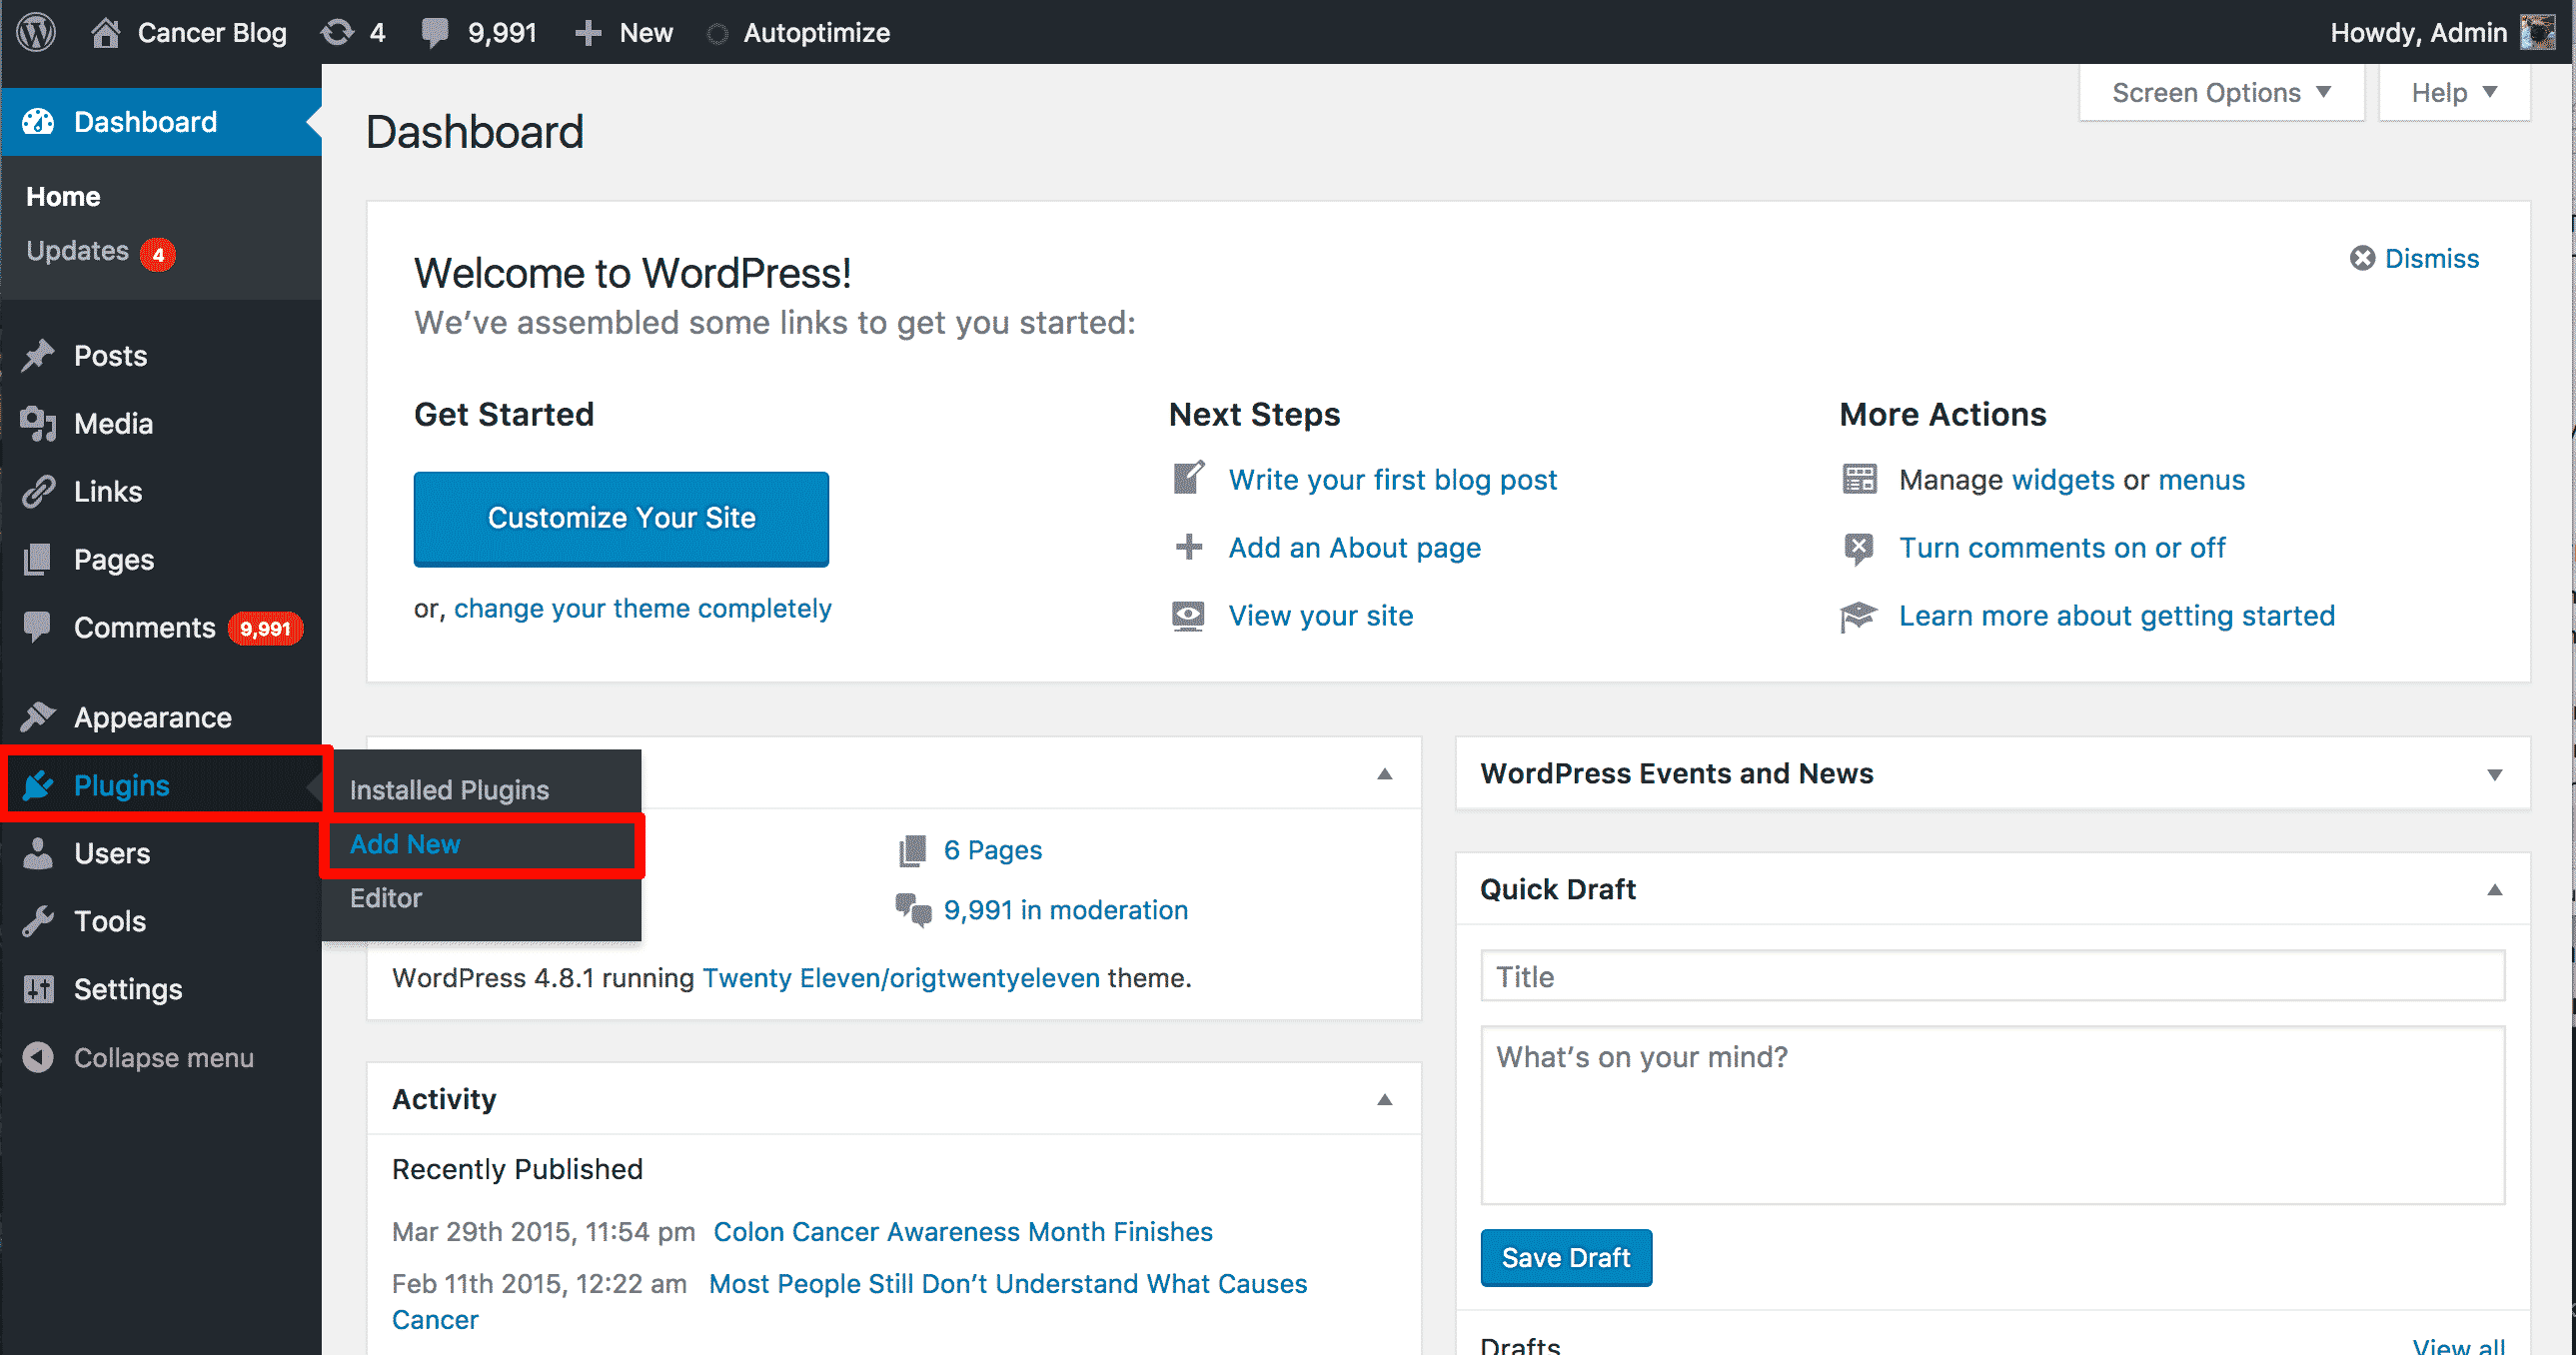
2. Using the left-hand navigation, select Plugins > Add New.
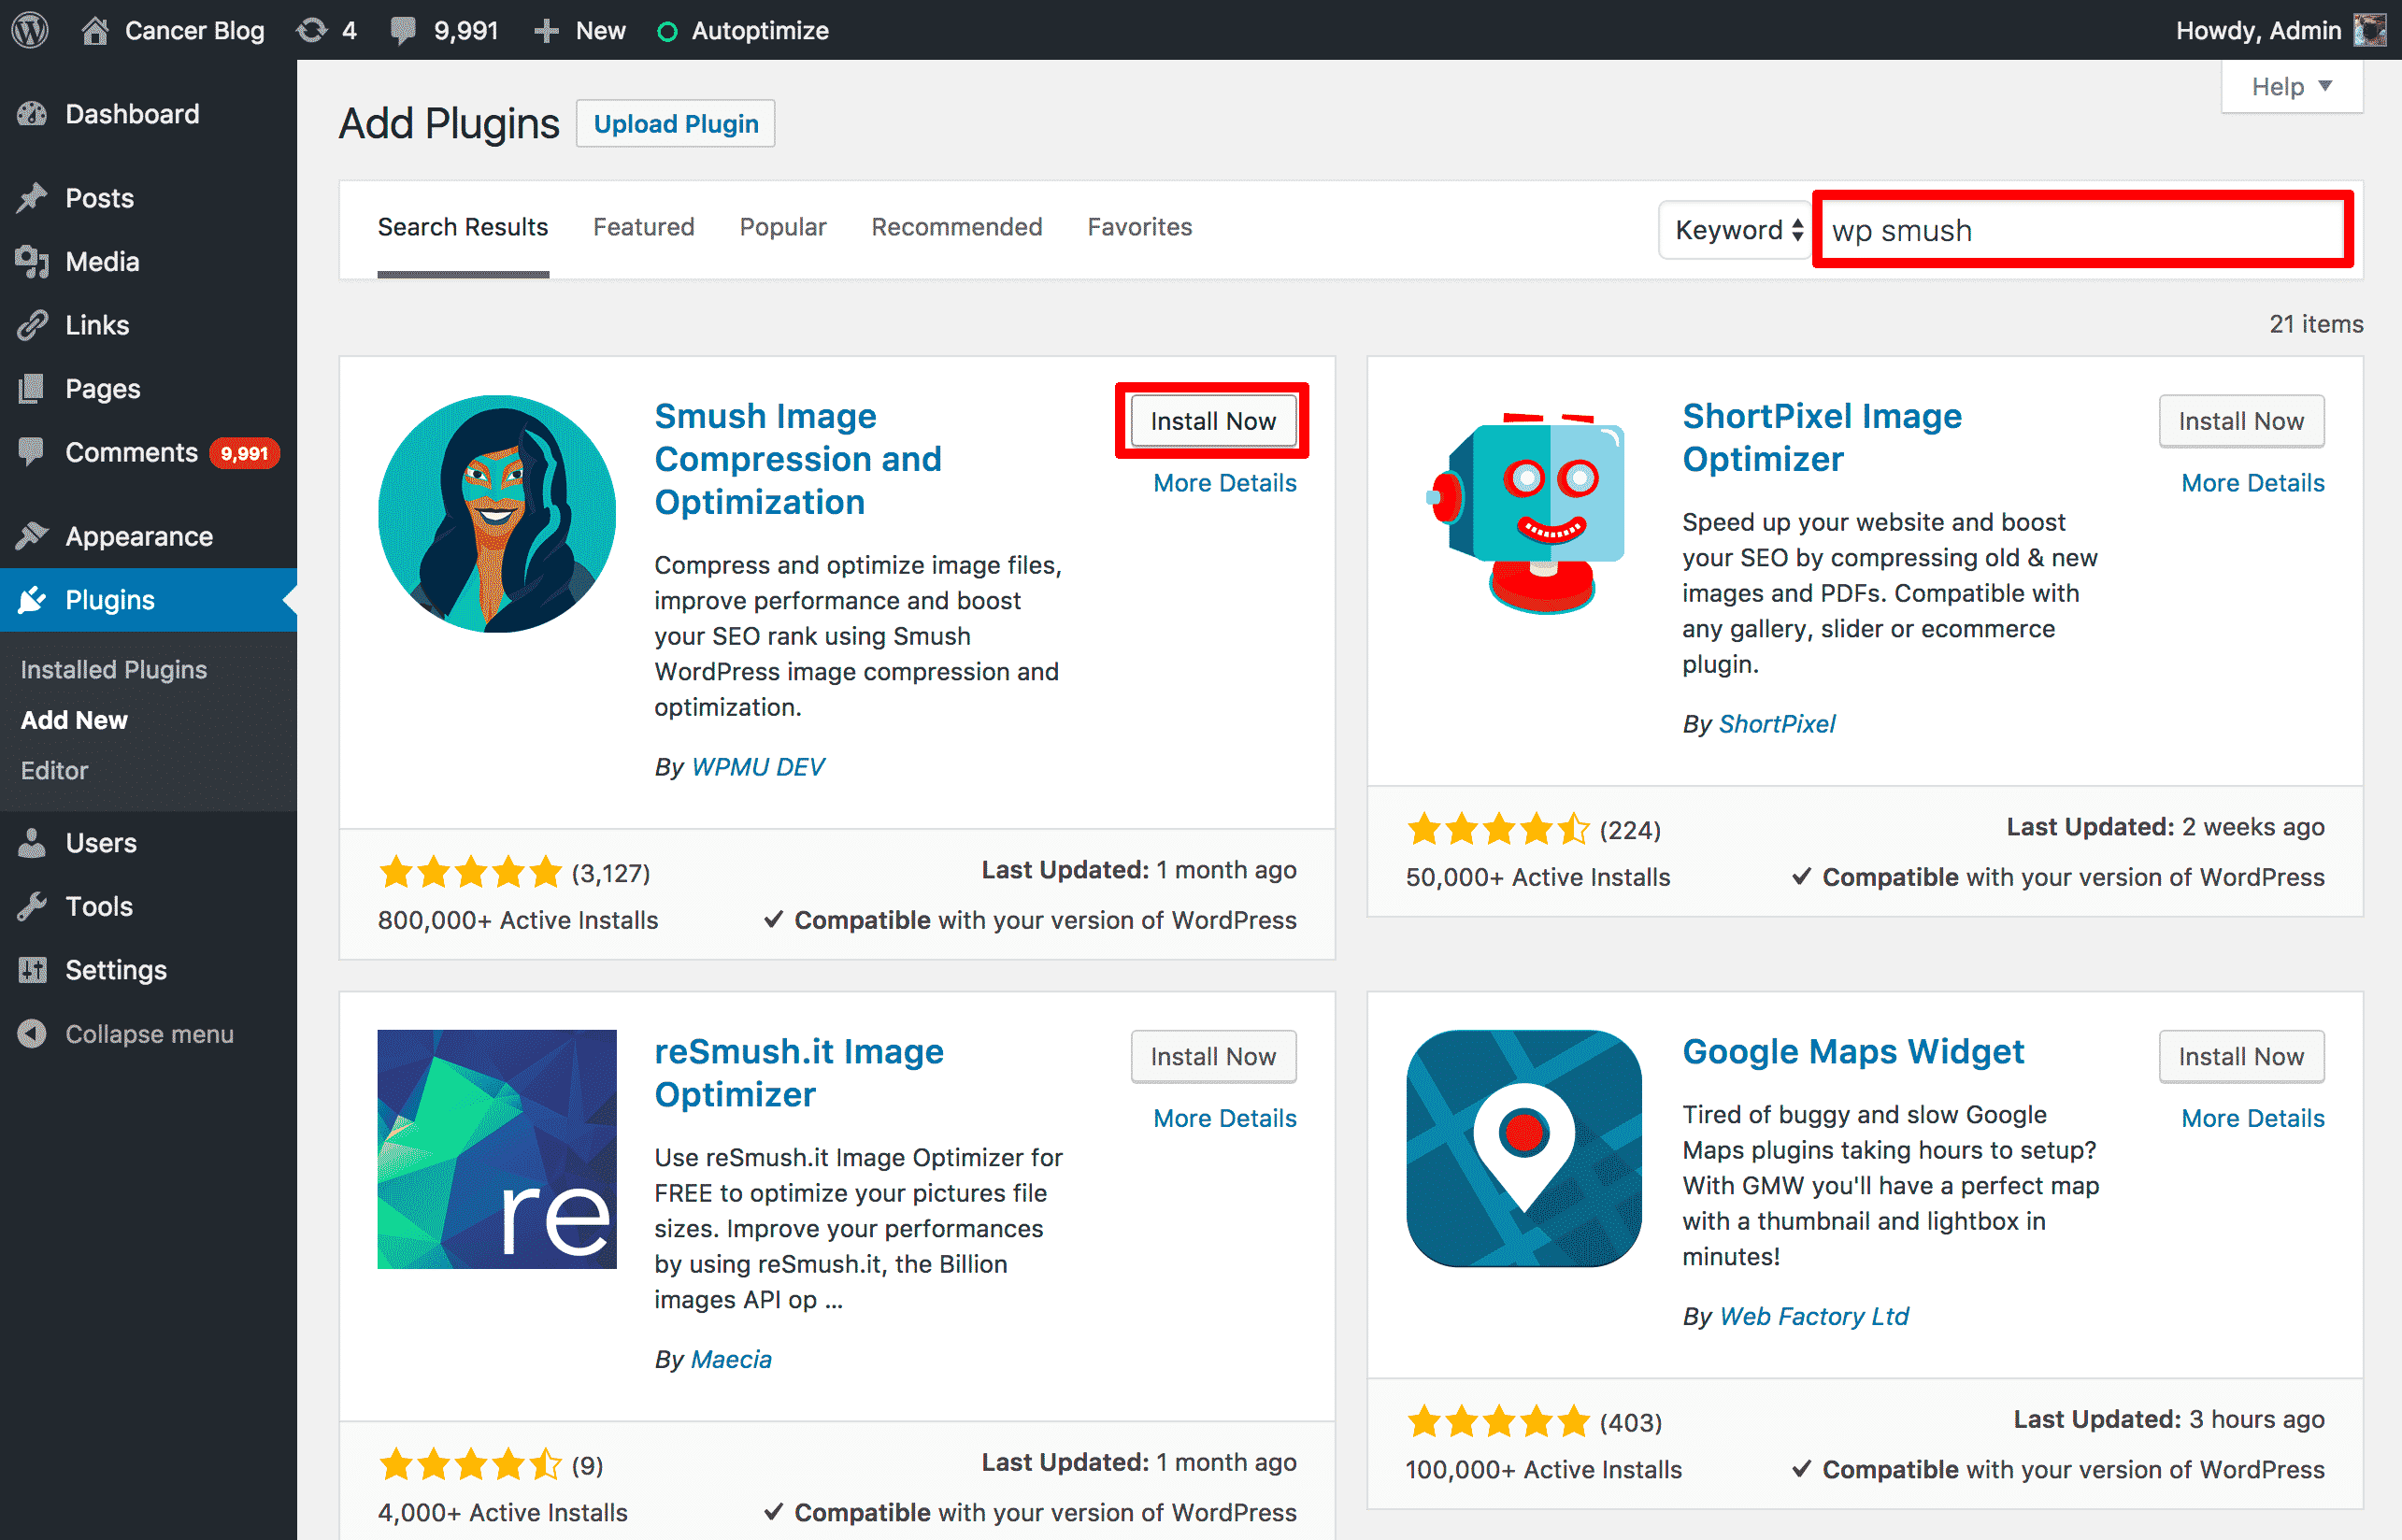
3. In the Search field on the upper right corner, type “WP Smush”. WP Smush will be the first result listed. Click on the Install Now button.
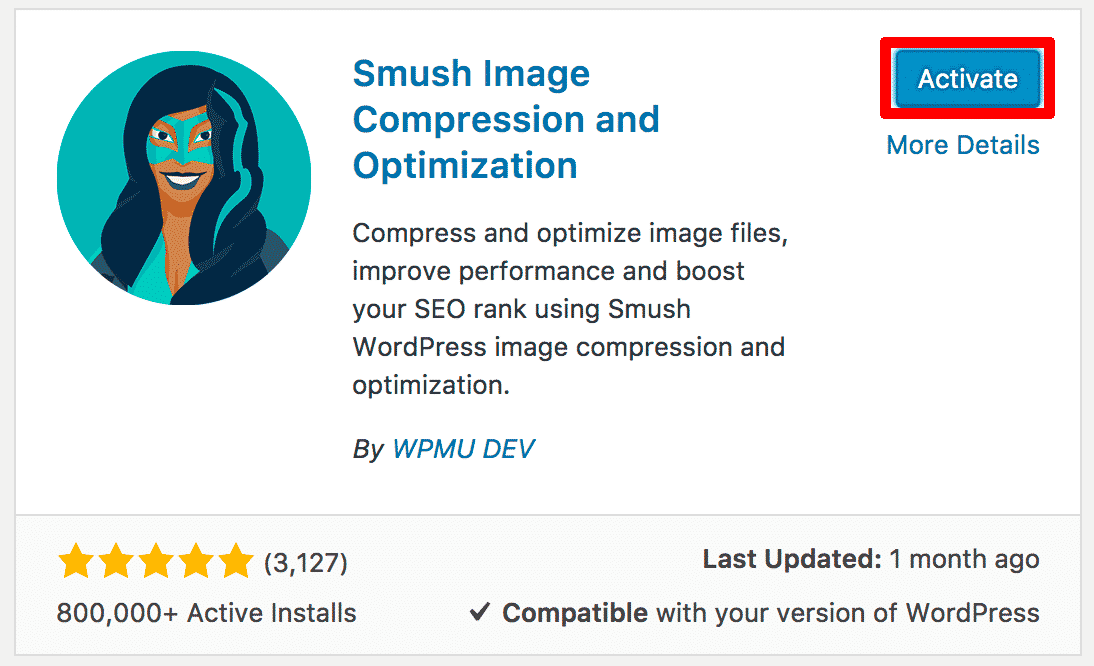
4. Once the plugin has finished installing, press the Activate button.
Configuring WP Smush
After you have installed and activated the plugin, you will be redirected to the WP Smush configuration page. You will also notice a new menu item has been added to the left-hand menu under Media > WP Smush.
There are three sections at the top of the WP Smush configuration section:
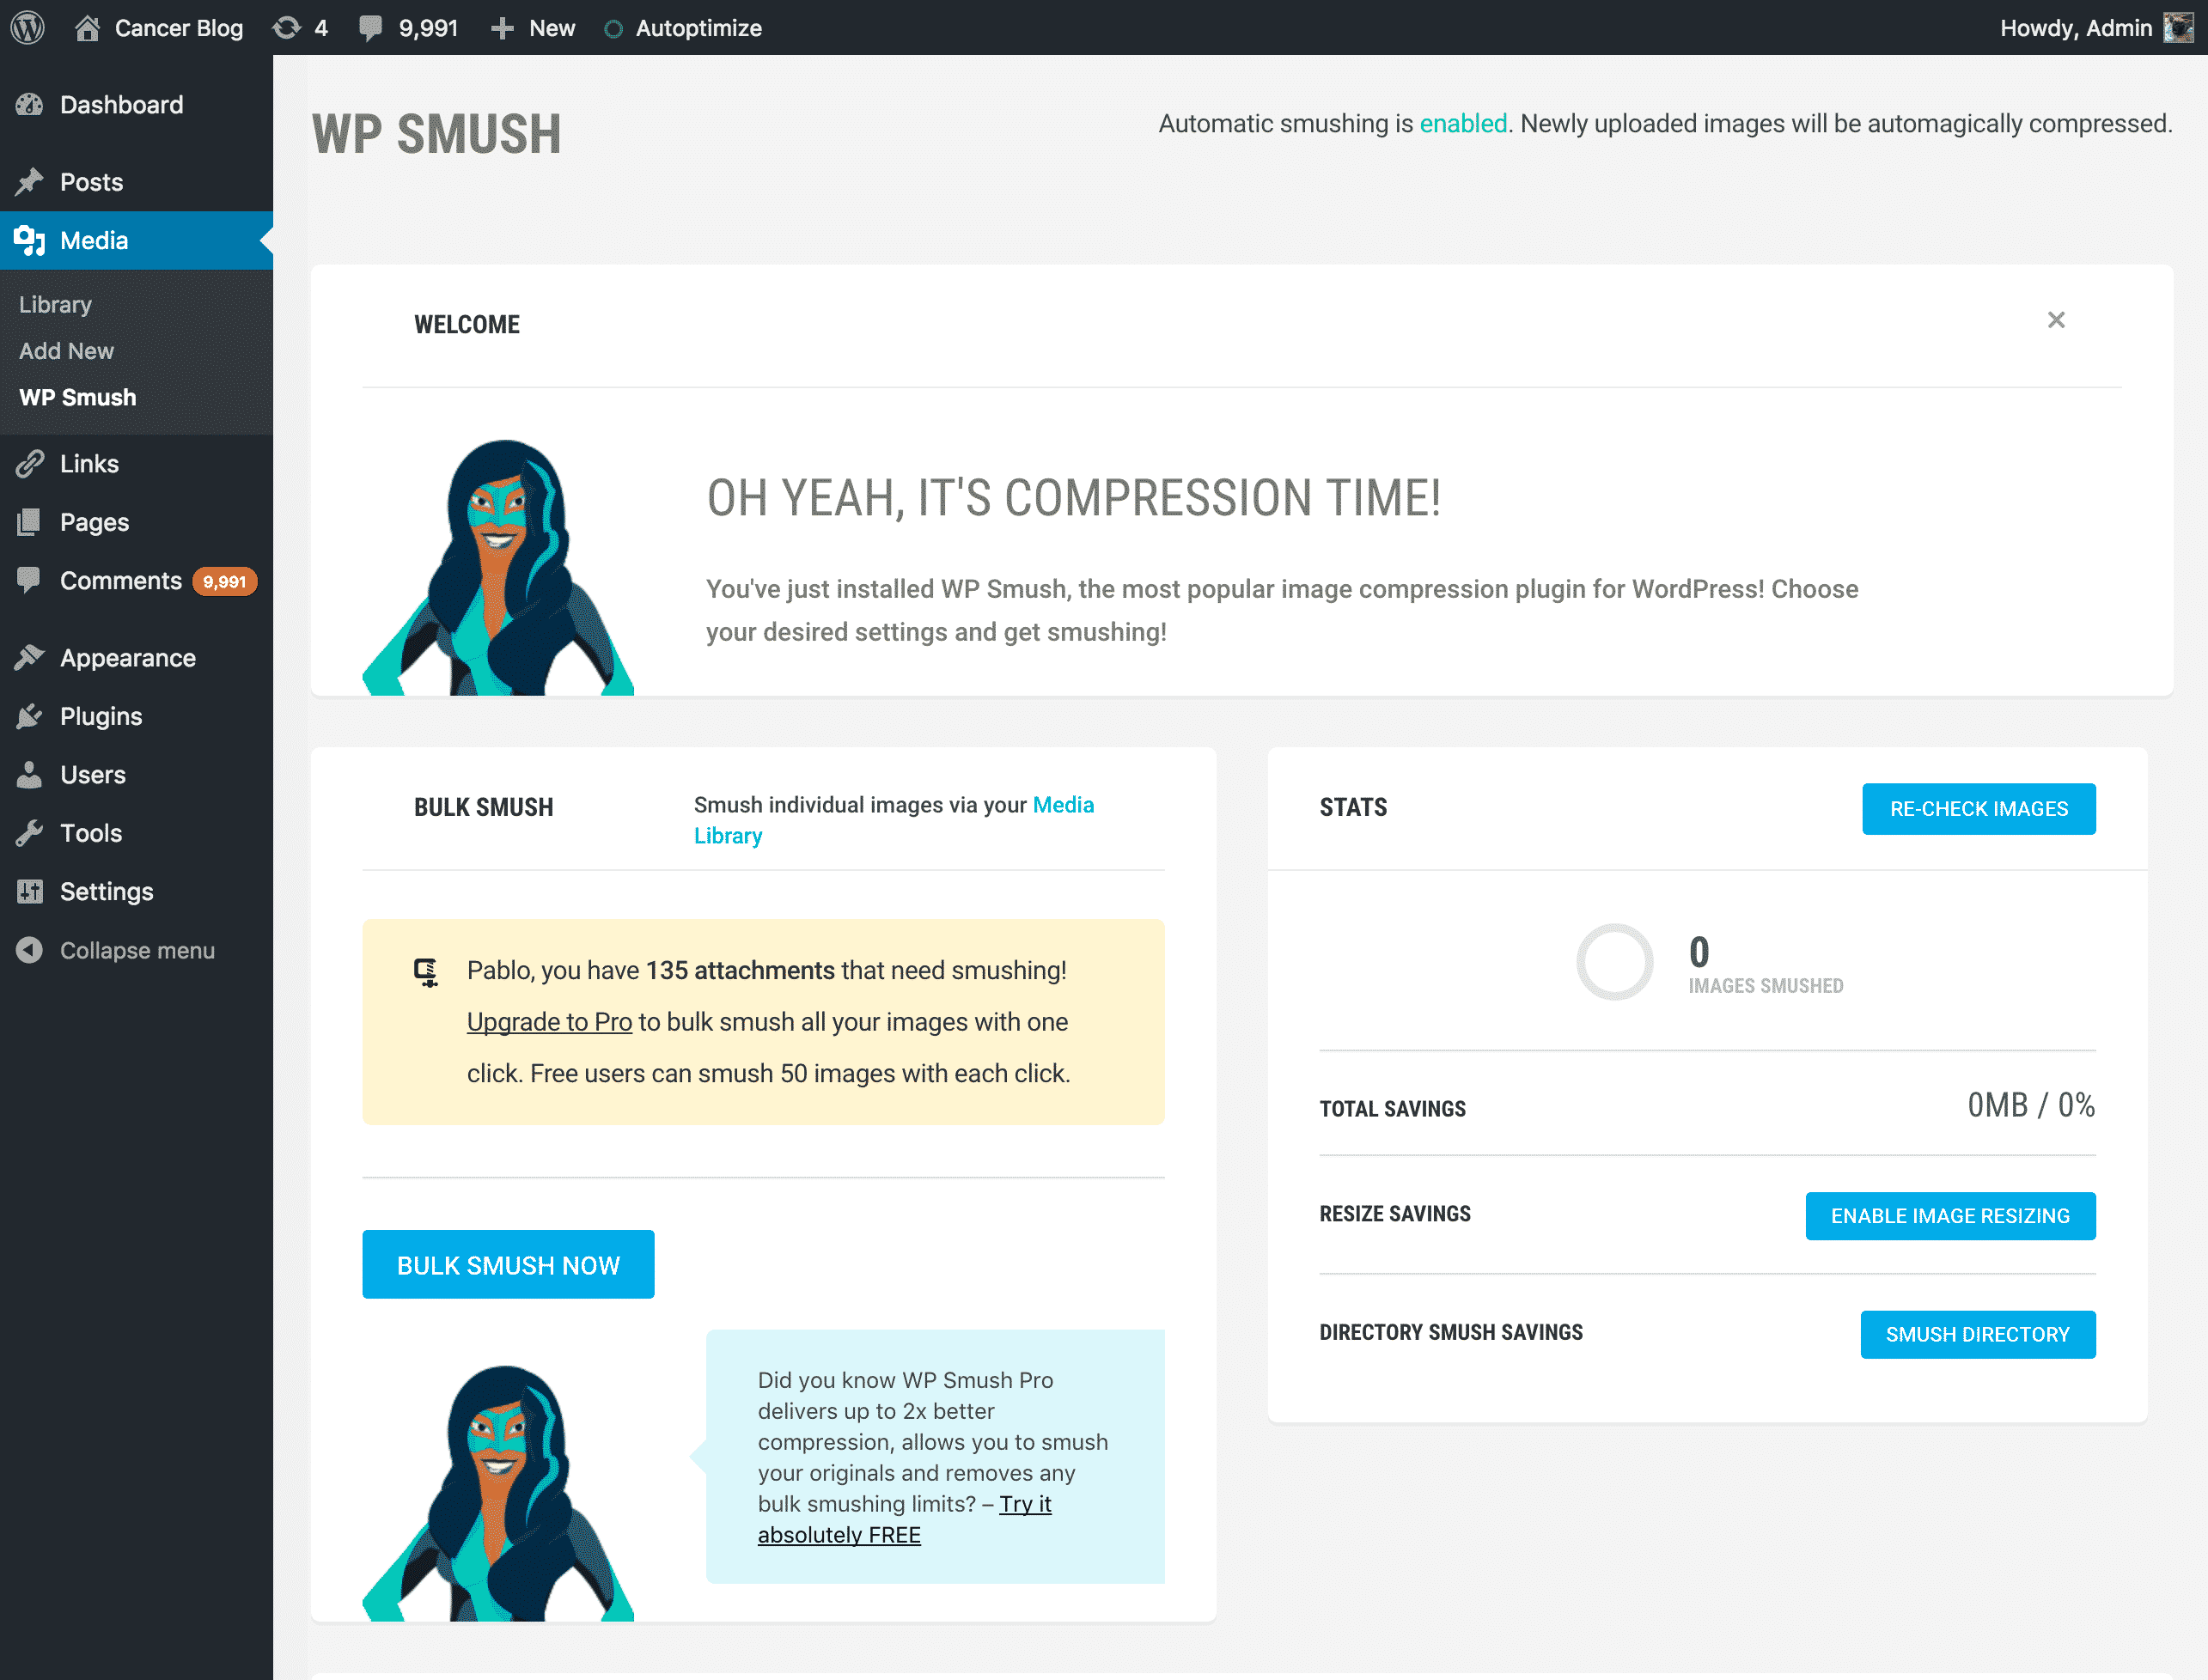
- Welcome: Your general welcome section!
- Bulk Smush: This section has a link to your media library where you can Smush individual images. It also alerts you to how many images you have that need Smushing and has a button for the Bulk Smush feature (does up to 50 images at once).
- Stats: The stats section tells you how many images have been Smushed and how much space you have saved so far. It also has a button for enabling automatic image resizing and for Smushing entire directories.
Beneath the initial sections, you will find the Settings section. There are three options here:
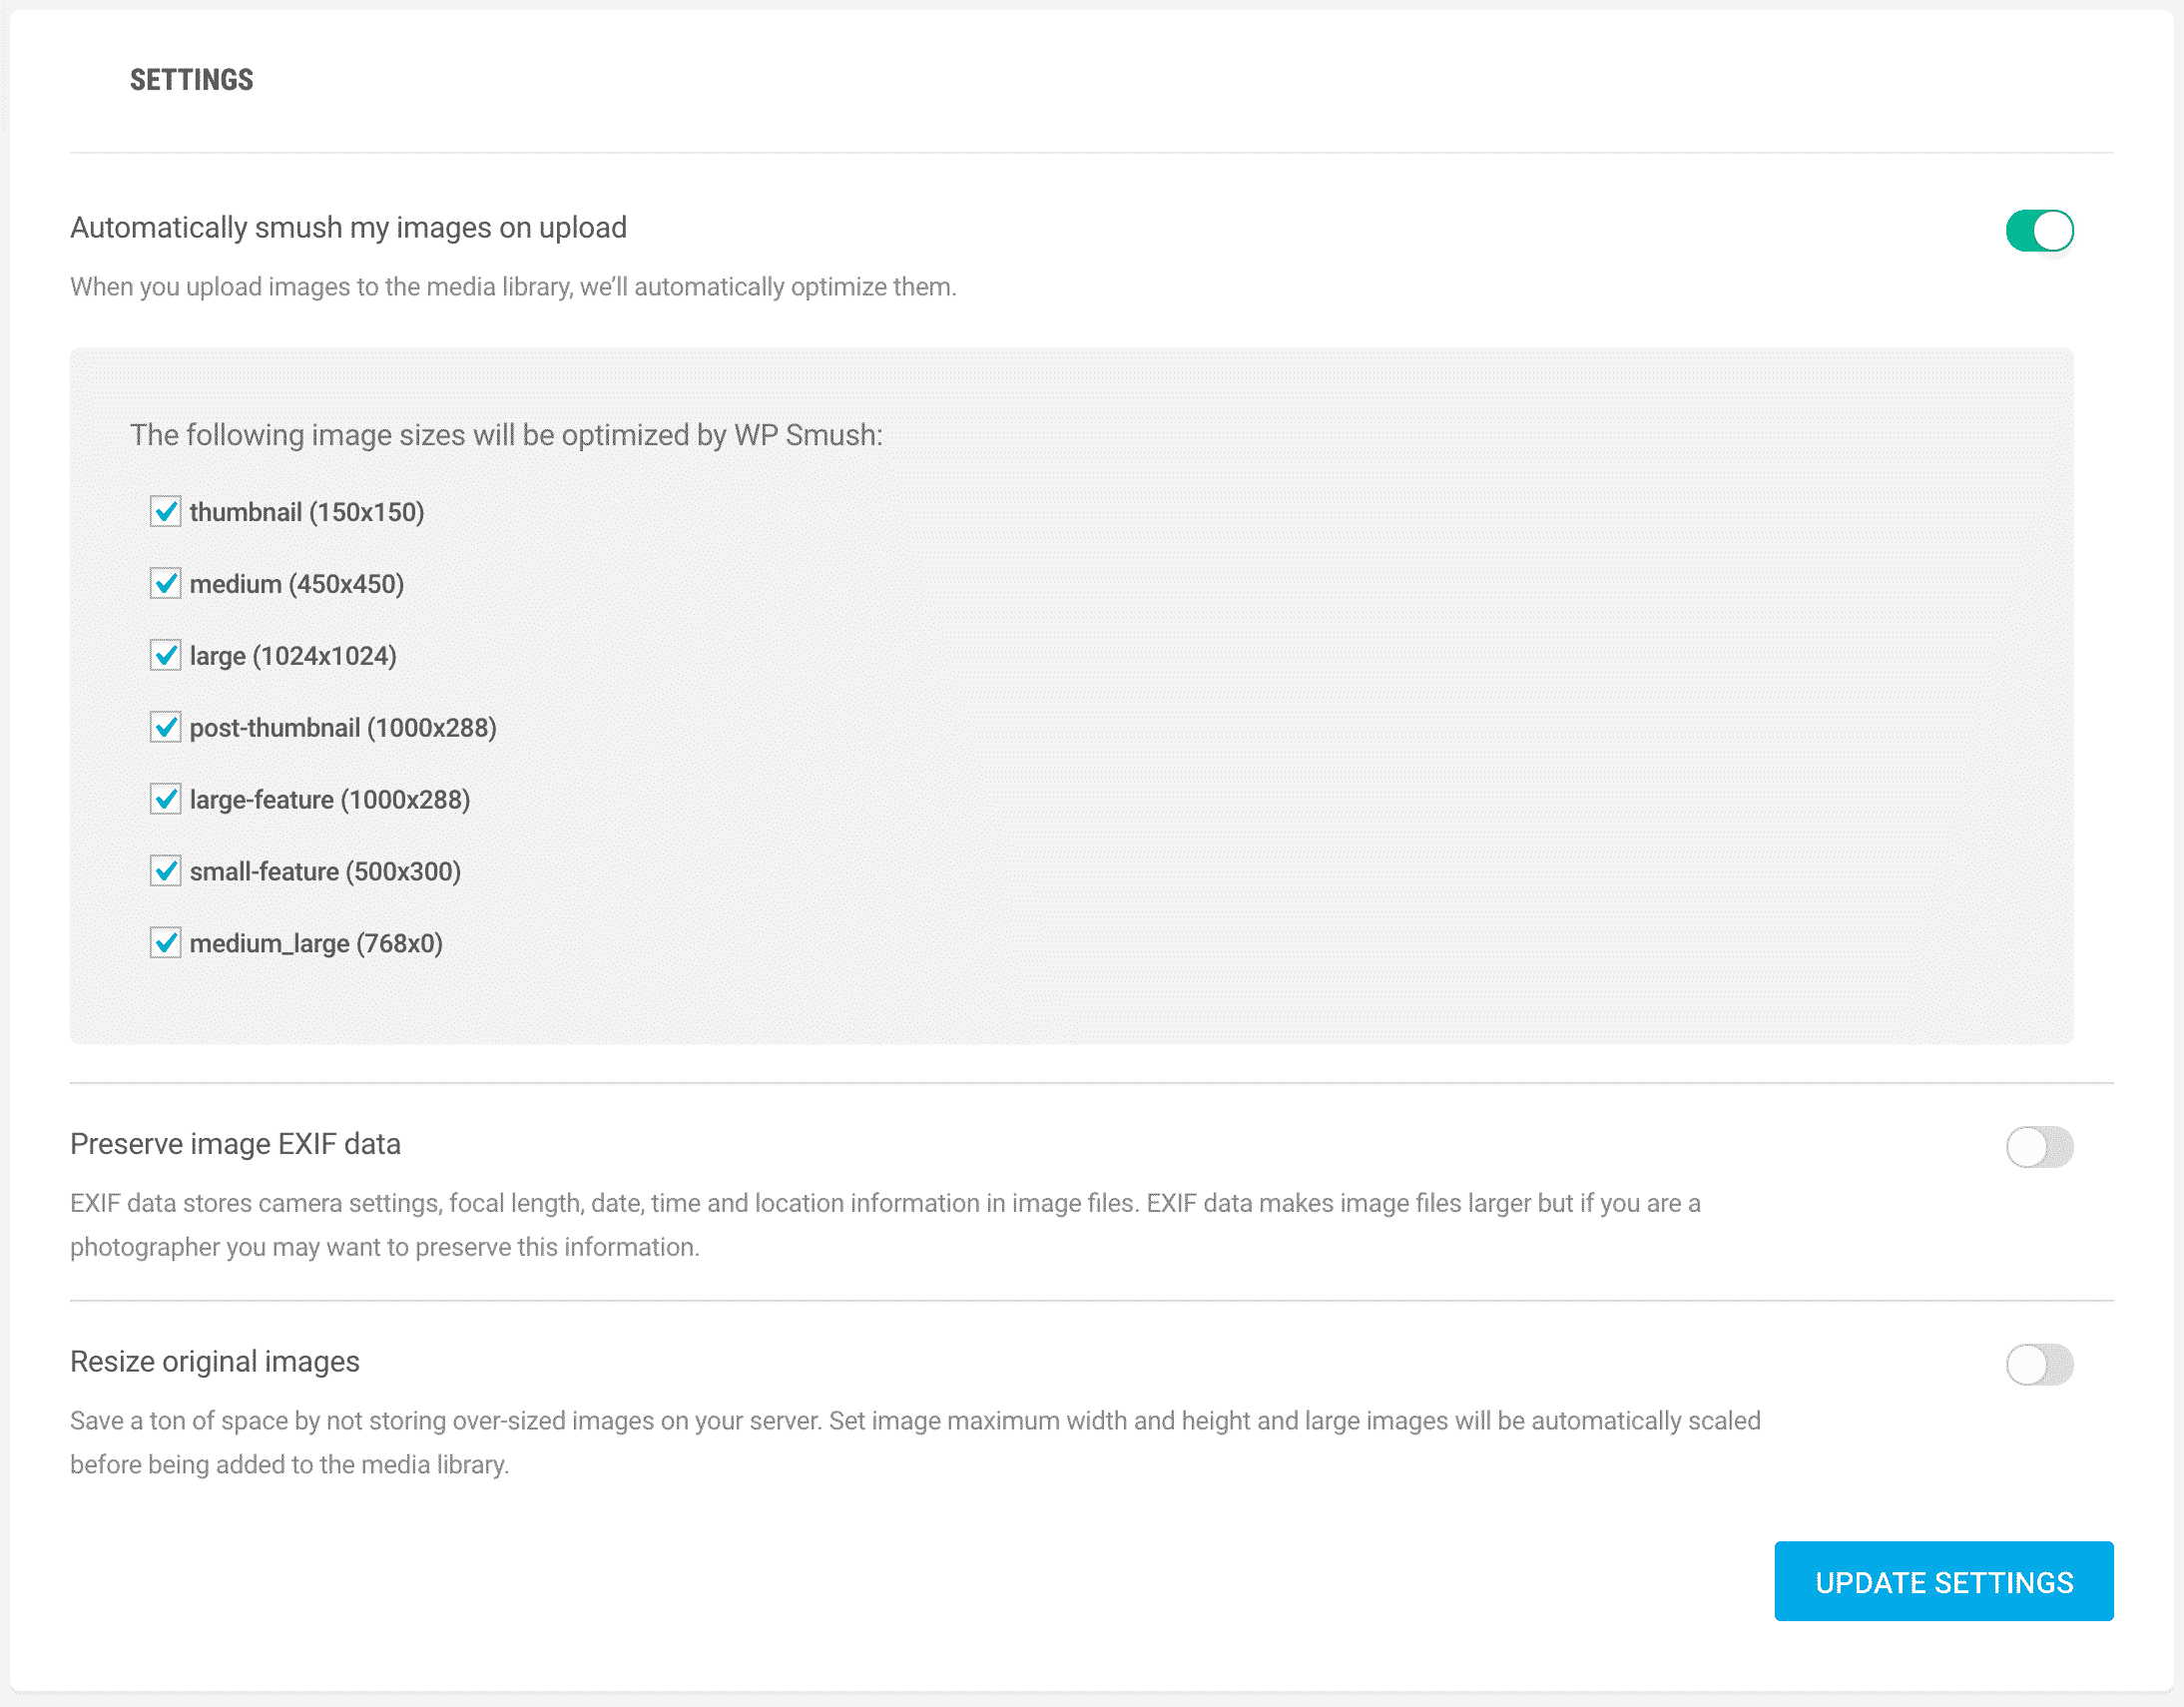
- Automatically Smush my images on upload: You can turn automatic Smushing on or off here. You can also specify which image types need to be Smushed. By default, WP Smush will compress all images you upload.
- Preserve image EXIF data: If you run a website where you would like the data from digital photographs to be preserved, use this option.
- Resize original images: This feature tells WP Smush to resize images that are above your maximum height and width.
Up next, we have the Directory Smush section, where you can specify a directory of images to Smush.

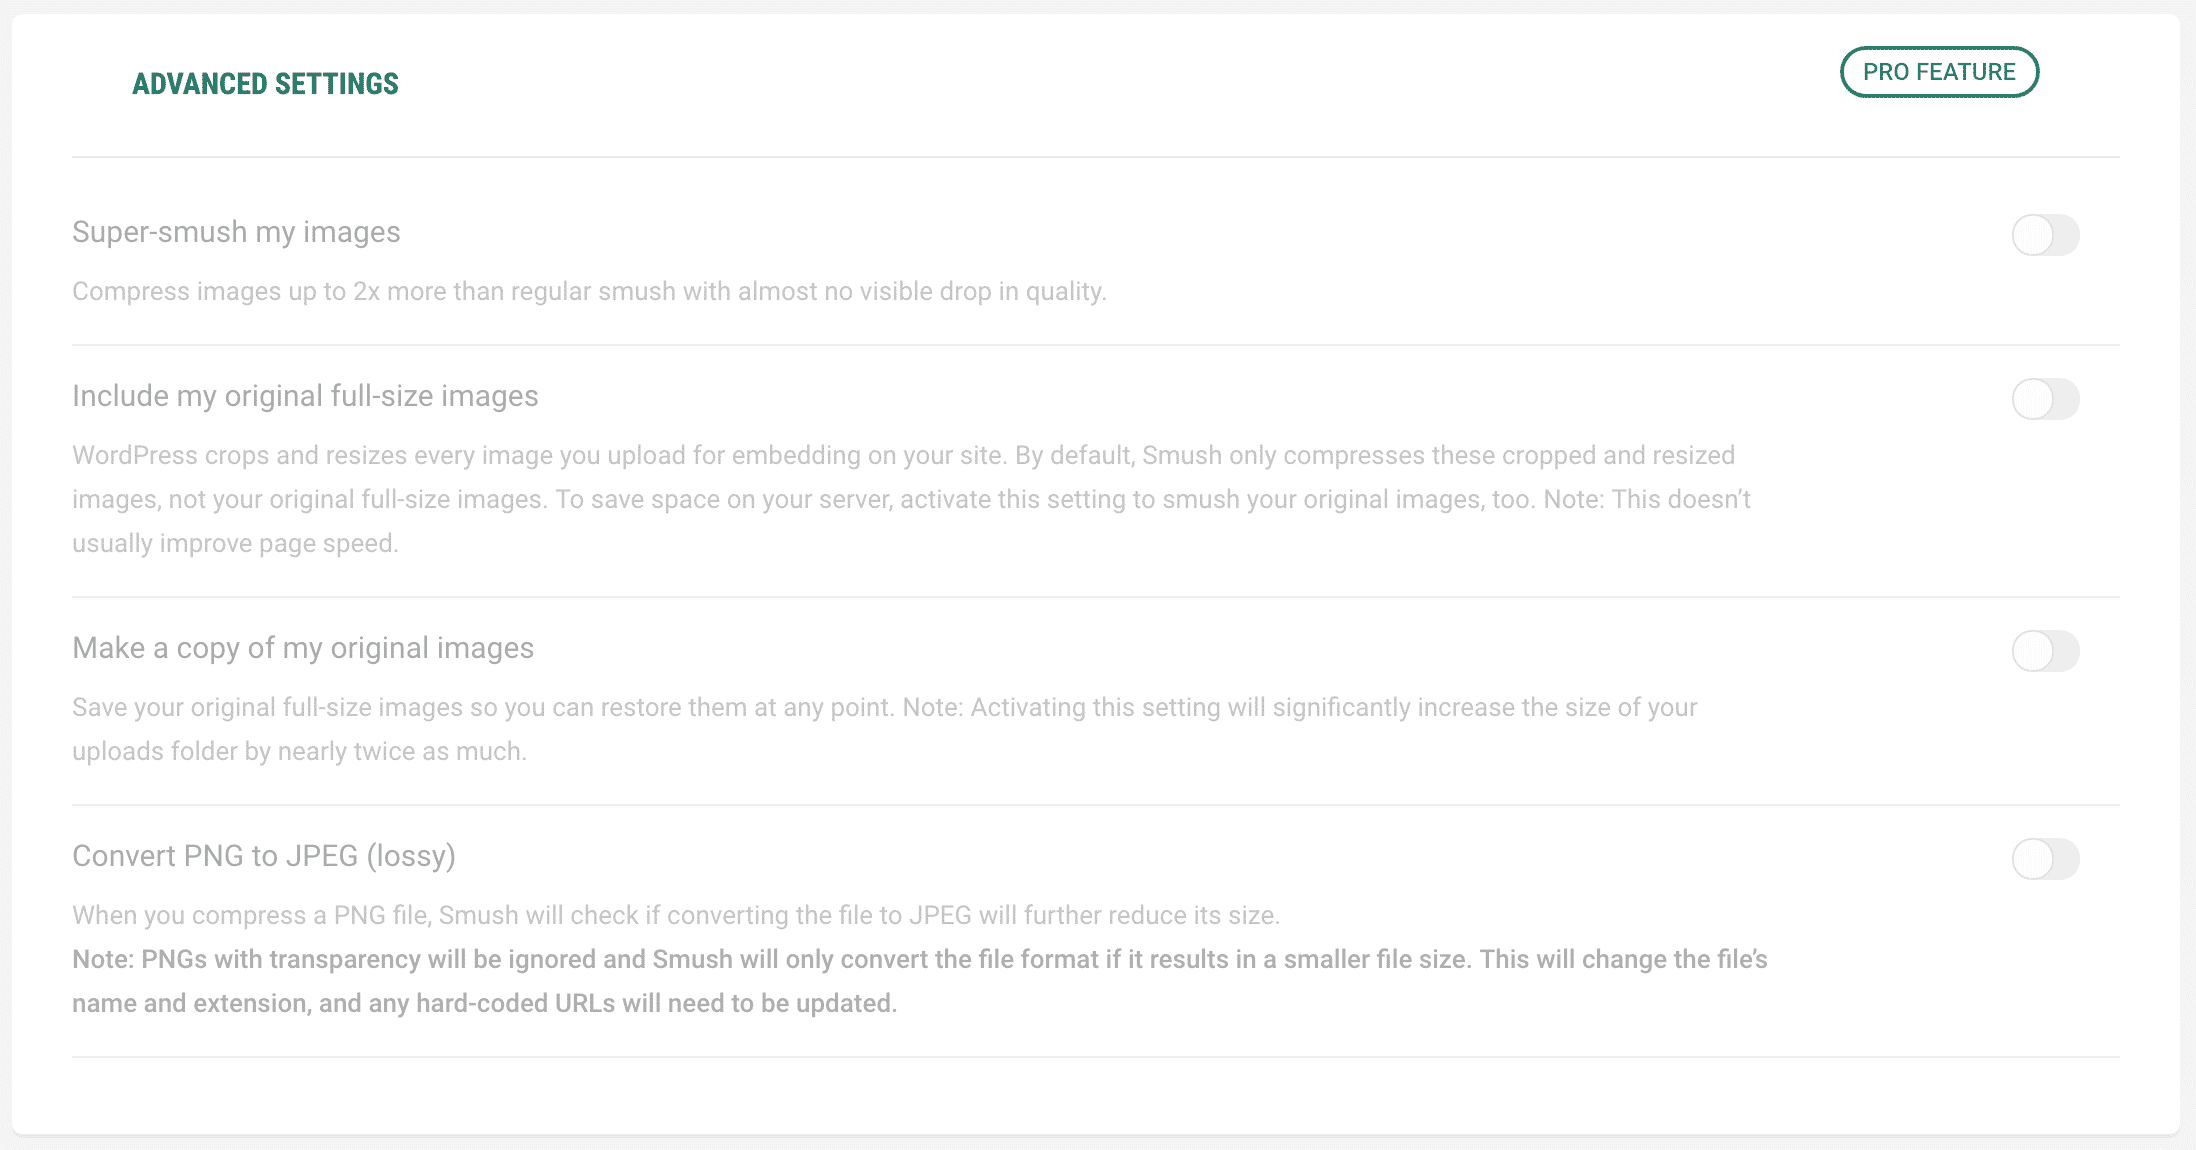
Finally, we have the Advanced Settings section, which is available to users of the Pro Version of WP Smush.
Ok, let’s do some Smushing. Scroll back up to the top of the configuration page and press Bulk Smush Now.
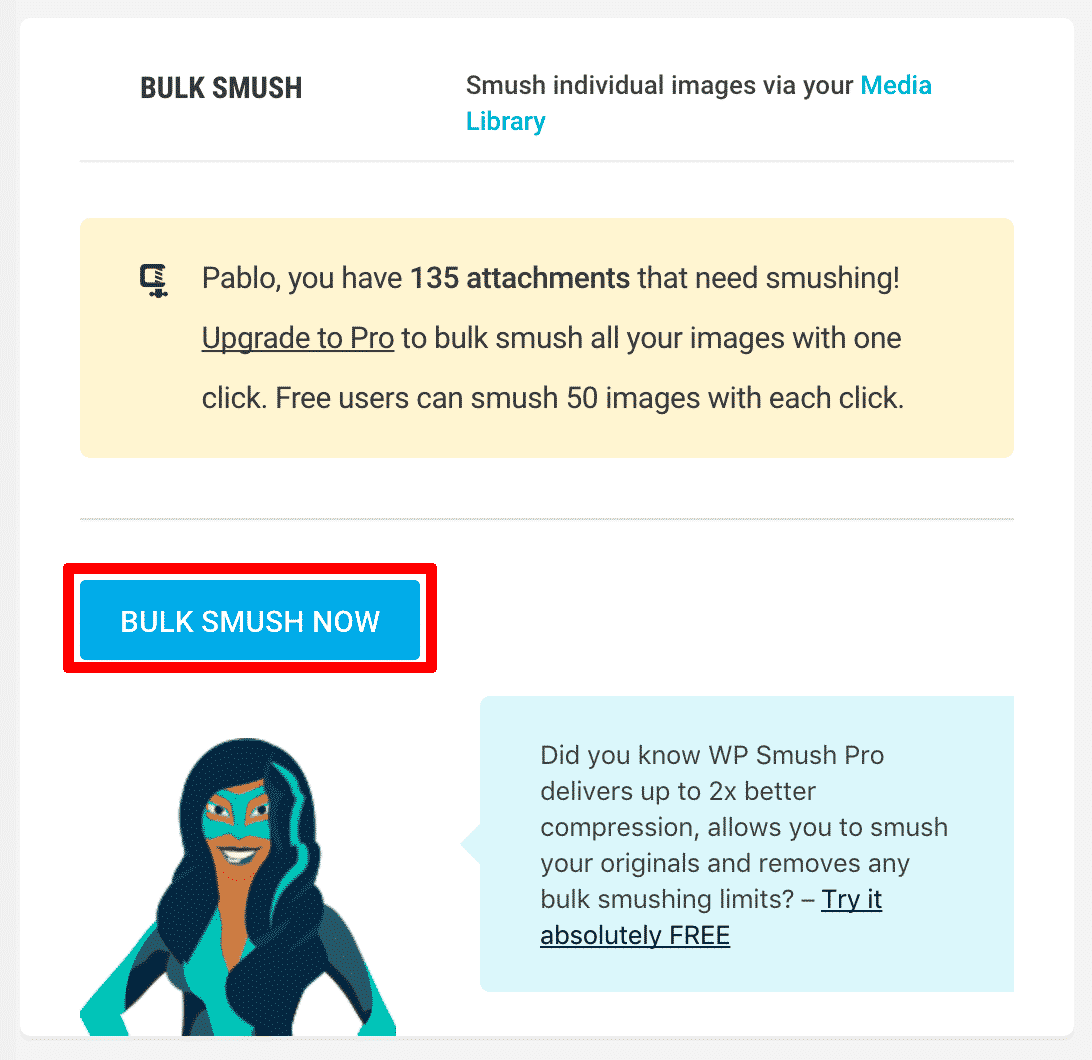
WP Smush will start compressing your images. The free version of the plugin will compress 50 images at a time. You will see a progress bar while your images are being Smushed.
It’s as simple as that! Keep smushing in bulk or select a directory to Smush. Any new images you upload will automatically be Smushed — greatly improving the speed of your website.
Thanks for reading WP Smush: The Ultimate Guide To Image Compression For SEO. For more WordPress tips and tricks, subscribe to our blog and follow us on social media!

